- makeITcircular 2024 content launched – Part of Maker Faire Rome 2024Posted 2 weeks ago
- Application For Maker Faire Rome 2024: Deadline June 20thPosted 2 months ago
- Building a 3D Digital Clock with ArduinoPosted 7 months ago
- Creating a controller for Minecraft with realistic body movements using ArduinoPosted 7 months ago
- Snowflake with ArduinoPosted 8 months ago
- Holographic Christmas TreePosted 8 months ago
- Segstick: Build Your Own Self-Balancing Vehicle in Just 2 Days with ArduinoPosted 8 months ago
- ZSWatch: An Open-Source Smartwatch Project Based on the Zephyr Operating SystemPosted 9 months ago
- What is IoT and which devices to usePosted 9 months ago
- Maker Faire Rome Unveils Thrilling “Padel Smash Future” Pavilion for Sports EnthusiastsPosted 10 months ago
DIY a Raspberry Pi E Ink Magic Mirror

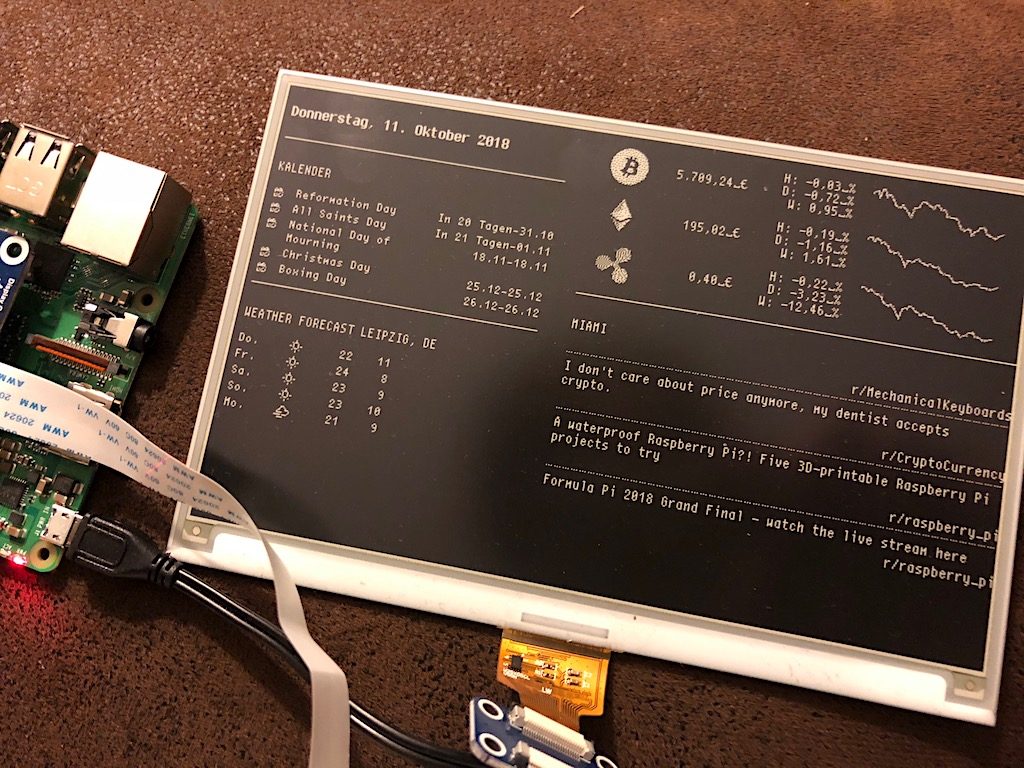
Ben Roe has just revealed the instructions to create a DIY E Ink Magic Mirror. He developed a node.js script to run a local Magic Mirror site, then takes a screenshot of it to push to a 7.5-inch Waveshare E Ink display. So yes, it’s a magic mirror in software only and all is managed by a Raspberry Pi Zero.
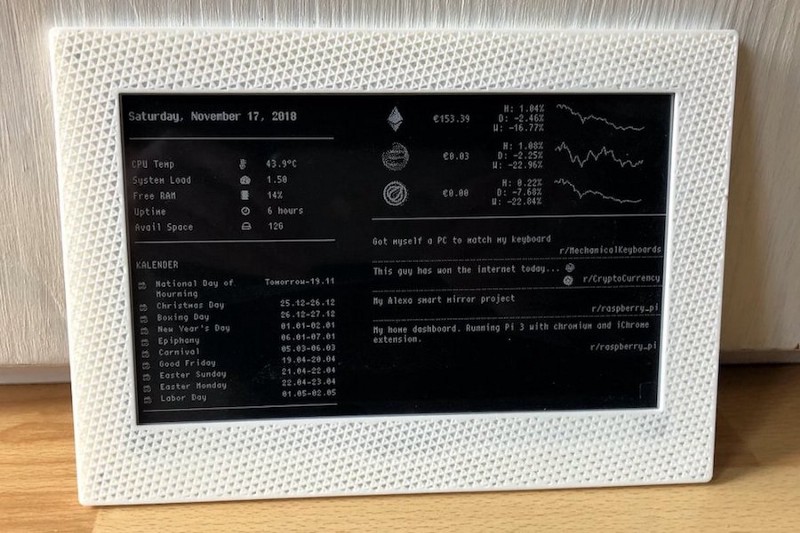
This low-power E ink display can show calendar appointments, weather forecasts, news updates, incoming messages, and other information.
But above all, most of the components seem pretty easy to source and assemble and the result is pretty cost-effective: you could build your own using less than $100 in parts.
There are really only a few pieces of hardware involved: a Raspberry Pi Zero W ($10), a 7.5 inch Waveshare E Ink display ($50ish), a microSD card, and a micro USB power adapter — which you may already have lying around.
The trickiest part may be building a frame for this E Ink picture frame, but if you’ve got a 3D printer you can use that.
Further information can be found on Github.


