- makeITcircular 2024 content launched – Part of Maker Faire Rome 2024Posted 2 weeks ago
- Application For Maker Faire Rome 2024: Deadline June 20thPosted 2 months ago
- Building a 3D Digital Clock with ArduinoPosted 7 months ago
- Creating a controller for Minecraft with realistic body movements using ArduinoPosted 7 months ago
- Snowflake with ArduinoPosted 8 months ago
- Holographic Christmas TreePosted 8 months ago
- Segstick: Build Your Own Self-Balancing Vehicle in Just 2 Days with ArduinoPosted 8 months ago
- ZSWatch: An Open-Source Smartwatch Project Based on the Zephyr Operating SystemPosted 9 months ago
- What is IoT and which devices to usePosted 9 months ago
- Maker Faire Rome Unveils Thrilling “Padel Smash Future” Pavilion for Sports EnthusiastsPosted 10 months ago
Small Breakout for SIM900 GSM Module
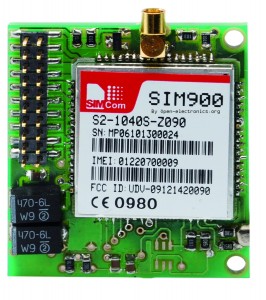
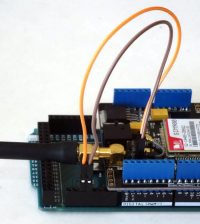
Some post ago we presented a PCB to mount the SIM900 module. The project is used in our GSM remote control and the Arduino GSM Shield.
The dimensions aren’t big (1.75×1.95 inches) but in some cases they are too important for a projects, so….
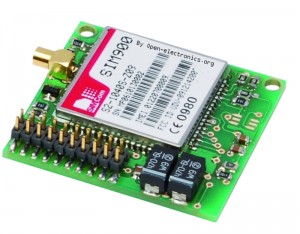
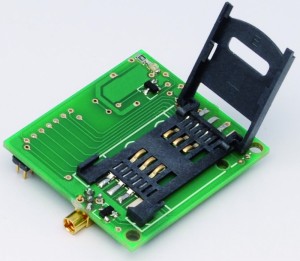
..we have developed a small PCB GSM module to build device like localizators (coming soon… :-) ), bugs or other small devices.
The Schematics
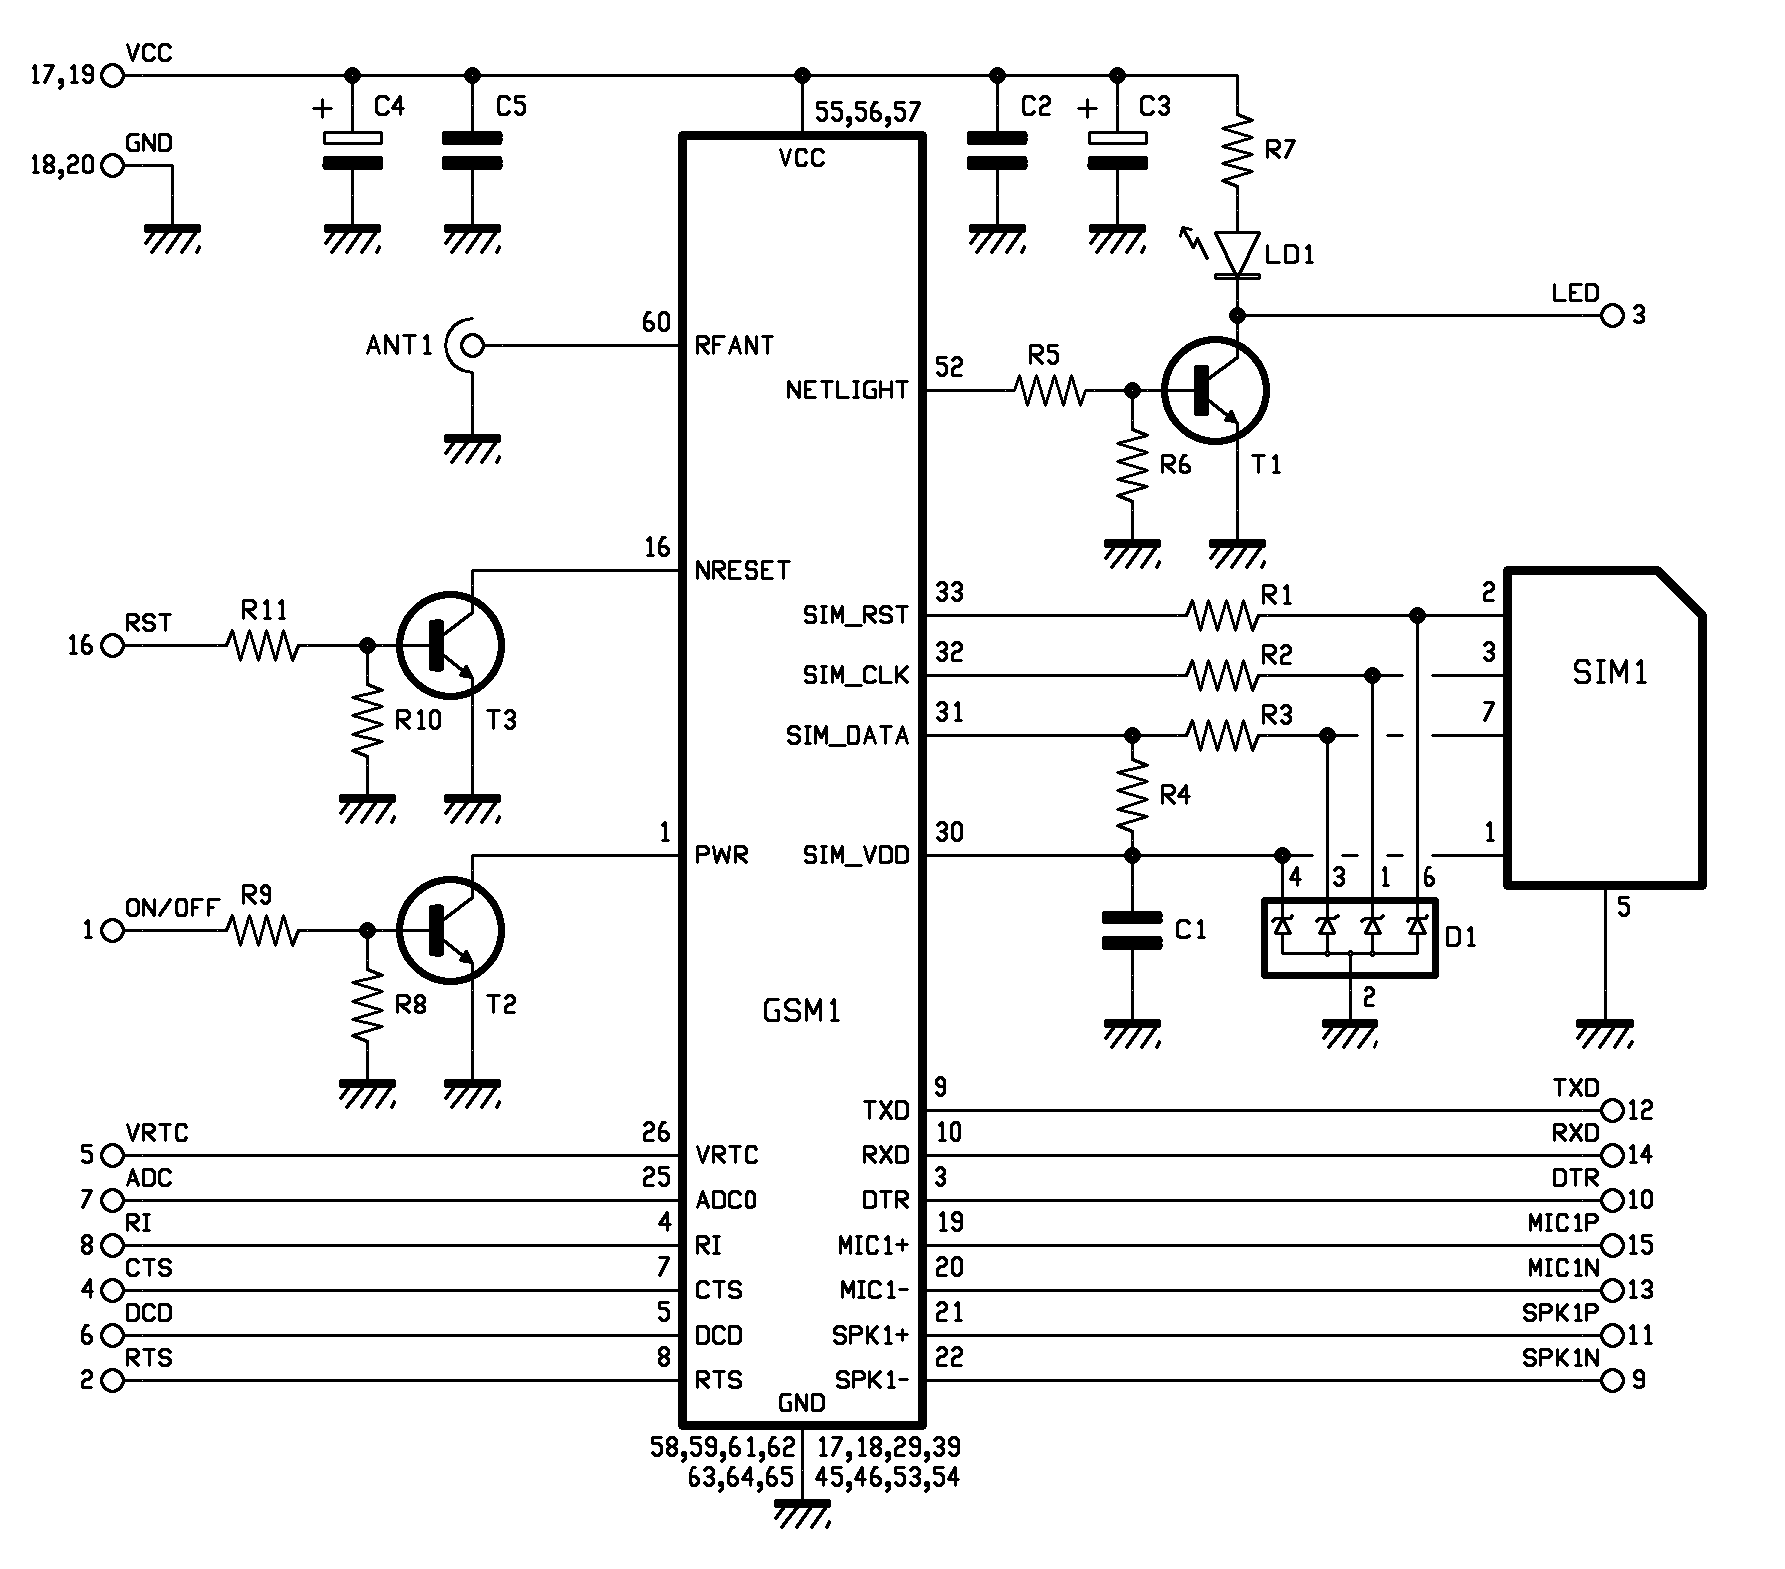 The schematic is the same of the old module.
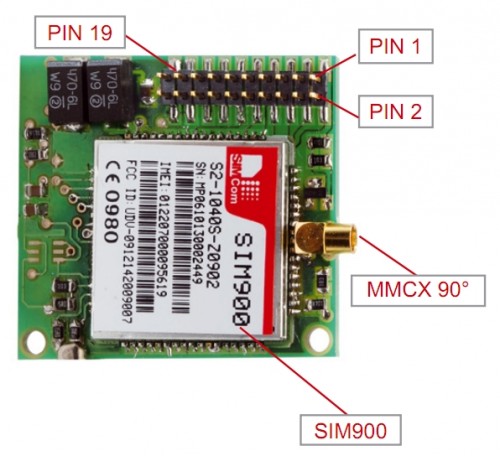
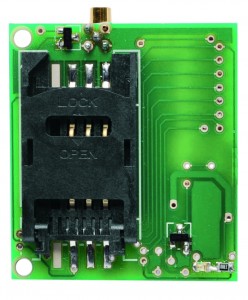
The printed circuit board, measuring about 1.35×1.5 inches, has a pin strips (10 pin x 2) used to connect with the circuit board of the remote control device.
Let’s now take a look at the electrical scheme, which displays the connections.
The pin 1 (ON/OFF) is used by a microcontroller to turn the GSM module on and off. The module is turned on or off according to the logical level applied to their PWR line (pin 1 of GSM1) . The PWR line is equipped with an internal pull-up resistance and is active at logical zero; therefore, in order to switch the cellular module on, the microcontroller sets PWR at a high logical level (contact 1 of the pin-strip) and causes transistor T2 to saturate; this transistor will then sets the PWR line at a low level. Remember that the power on or off signal is only a pulse of about 2 seconds.
Reset monitoring is handled similarly. The module can be reset by simply causing the microcontroller to send a logical 1 via the RST line, at which time the T3 transistor saturates and sets the NRESET line of GSM1 at a low level.
Let’s now proceed with UART’s control lines (i.e., TXD, RXD, DTR, RTS, CTS, DCD), which are connected to the external area through the pin-strip’s contacts, respectively, 12, 14, 10, 2, 4 and 6.
The audio device, with two contacts for the microphone (with differential input) and two more for the loudspeaker, uses contacts 15, 13, 11, 9, which correspond, respectively, to MIC1P and MIC1N (positive and negative of the microphone) and SPK1P and SPK1N (respectively, positive and negative of the loudspeaker). The RI signal (indicating incoming calls) goes out through contact 8 of the pin-strip.
In this case, the GSM connector modules’ antenna is a 90° MMCX directly connected on the printed board of the cell phone.
Let’s now talk about transistor T1, used here to locally control the cell phone’s reception LED: its base is polarized from the current logical level on pin 52 (NETLIGHT) for GSM1. The transistor’s collector is where the line to contact 3 of the pin-strip starts; this line is connected with the LED line, which the microcontroller uses to get information regarding the presence of GSM network as well as regarding the connection status of the module (e.g., whether the network is available or not).
The Pin Out
|
1 |
3 |
5 |
7 |
9 |
11 |
13 |
15 |
17 |
19 |
|
ON/OFF |
LED |
VRTC |
ADC |
SPK1N |
SPK1P |
MIC1N |
MIC1P |
VCC |
VCC |
|
2 |
4 |
6 |
8 |
10 |
12 |
14 |
16 |
18 |
20 |
|
RTS |
CTS |
DCD |
RI |
DTR |
TXD |
RXD |
RST |
GND |
GND |
The bill of material
[code] C1: 220 nF (0805)
C2: 100 nF (0805)
C3: 470 µF 6,3 VL (CASE-D)
C4: 470 µF 6,3 VL(CASE-D)
C5: 100 nF (0805)
LD1: led green (0805)
D1: –
R1: 15 ohm (0805)
R2: 15 ohm (0805)
R3: 15 ohm (0805)
R4: 10 kohm (0805)
R5: 4,7 kohm (0805)
R6: 10 kohm (0805)
R7: 330 ohm (0805)
R8: 10 kohm (0805)
R9: 4,7 kohm (0805)
R10: 10 kohm (0805)
R11: 4,7 kohm (0805)
T1: BC817
T2: BC817
T3: BC817
GSM1: GSM module SIM900
SIM: Slot SIM-CARD
– Antenna connector MMCX 90°
– Strip male 2×10 via 2mm
– PCB </strong><strong> [/code]






Pingback: sim900 te simple serial connection
Pingback: sim900 c code startcode to work with
Pingback: Bringing the Zach Morris phone into the 21st century | Daily IT News on it news..it news..
Pingback: rndm(mod) » Bringing the Zach Morris phone into the 21st century
Pingback: Bringing the Zach Morris phone into the 21st century - About all
Pingback: An Open Source GSMLib for SIM900/SIM908 and Arduinos | Open Electronics
Pingback: MohamadAmin Karbasi (makarbasi) | Pearltrees
Pingback: سوال در مورد ماژول sim800l