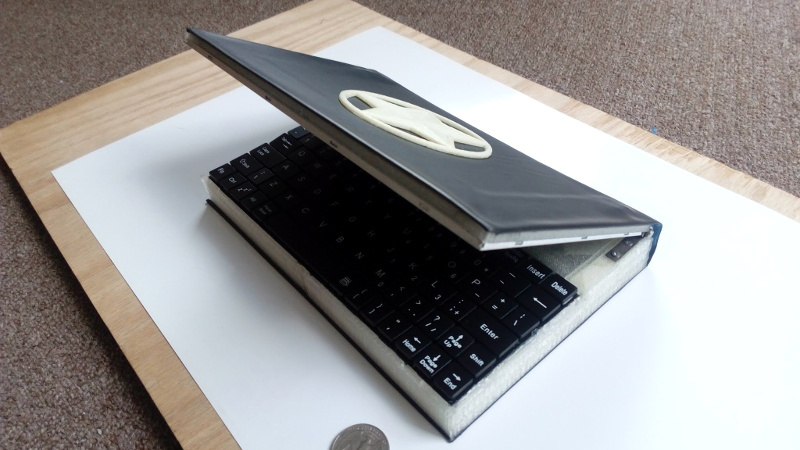
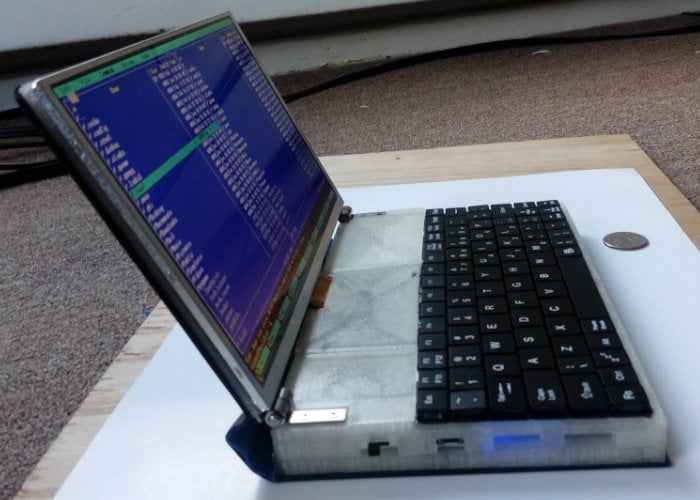
Designed to resemble a spell book the mini laptop built by Hackaday member Calvin Nemo was created using TinkerCAD 3D printed outer shell which houses the Raspberry Pi Zero mini PC and other components.
The general idea is that the outside panels of the “book” are made out of steel cut from the side panel of an old computer, with the 3D printed components taking the form of spacers between the electronic components. These plastic “pages” are not only easier and faster to print than a complete case, but help sell the appearance of the book when viewed from the sides.
List of components to build your Spellbook:
- Raspberry Pi Zero or a trimmed down Pi 2-3
- 9″ Display
- HDMI cable (A1 C1 5cm)
- Micro USB Keyboard for 7″ Tablet
- Adafruit PowerBoost
- 7v 2500mah type 505070P Batteries
- Friction Positioning Hinge
- M2-0.40 x 8MM Flat Head Socket Cap Screws
- 4mm Standoffs and Screws
It is now available to download from the Autodesk TinkerCAD website enabling you to 3D print your very own.
