A recent projectable tutorial on how to 3D print a custom walkie talkie proves that modern technology can very closely resemble the popular generations old comm pieces.
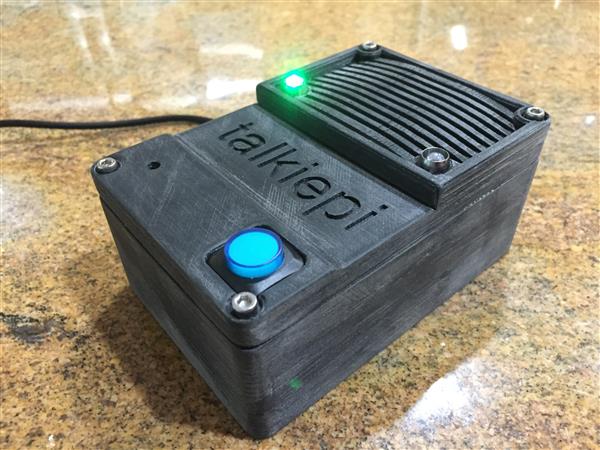
Starting out as a project for Daniel Chote’s kids, his walkie talkie set is run by a Raspberry Pi, has USB speakers, 3D printed parts and other electronic gadgetry. This fact already disqualifies it as a traditional Walkie Talkie, which relies on two-way radio signals, but that doesn’t mean it’s not really cool even still.
The 3D print files were designed in Autodesk’s Fusion360 and printed using PLA plastic with 100% infill to ensure a strong and ultimately suitable for the unpredictable nature of children. With this in mind, a far less infill would also get the job done with similar results so an expected time on a 3D printer ranges from anywhere between 5 and 8 hours from what I see.
Parts commonly available on electronics components stores are around $65. About the 3d printing cost, it depends if you print it by yourself or relying on a third party service, but basing on the printing time you can easily estimate the cost.
Parts needed are:
- Raspberry Pi 3 Model B ~$35
- Micro SD Card
- US Robotics USB Speakerphone (USR9610) between $4 and $12 (really cheap)
- Short right angle / left angle mini USB cable
- 5 x M3 nylon screws + 1 M3x20 nylon standoff
- GPIO header connector (there are many options for this)
- 2 x 5mm LEDs with 5mm LED holders
- Pushbutton with LED
- 3 x 330ohm resistors
- 2 x M3x15 + 2 x M3x25 stainless bolts (for the case)
- 2 x M3x10 stainless bolts + nuts (for the speaker)
- Hookup wire + heat-shrink

Source: 3ders.org
