- makeITcircular 2024 content launched – Part of Maker Faire Rome 2024Posted 2 weeks ago
- Application For Maker Faire Rome 2024: Deadline June 20thPosted 2 months ago
- Building a 3D Digital Clock with ArduinoPosted 7 months ago
- Creating a controller for Minecraft with realistic body movements using ArduinoPosted 7 months ago
- Snowflake with ArduinoPosted 8 months ago
- Holographic Christmas TreePosted 8 months ago
- Segstick: Build Your Own Self-Balancing Vehicle in Just 2 Days with ArduinoPosted 8 months ago
- ZSWatch: An Open-Source Smartwatch Project Based on the Zephyr Operating SystemPosted 9 months ago
- What is IoT and which devices to usePosted 9 months ago
- Maker Faire Rome Unveils Thrilling “Padel Smash Future” Pavilion for Sports EnthusiastsPosted 10 months ago
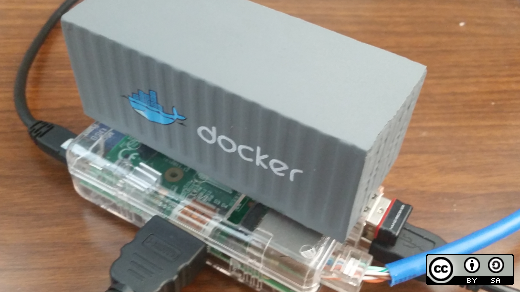
Using Docker to run Node.js on a Raspberry Pi

Docker is a tool for using Linux containers, which are an interesting topic in and of themselves. In a nutshell, you can think about them as either very light weight virtual machines that can run side-by-side on a host machine at near-native speed. In actuality, Docker containers are not virtual machines at all, but processes which run in (nearly) complete isolation from other processes on the host machine, and carry with them the complete bundle of utilities and libraries to help that process run; basically, a pared down operating system just for your selected application. For those who want to take their innovative projects to the next level and turn their models and Docker images into tangible products, there are platforms like JFrog that can make it happen.
As a Raspberry Pi tinkerer, this ease of replicating my environment had a lot of appeal, and working within the memory and processing constraints of a Raspberry Pi ruled out virtual machines as a means of doing it, so I wanted to see if I could get Docker up and running on my Raspberry Pi and then try it out.
The first challenge I came across, which will be obvious to anyone who has spent time with a Raspberry Pi, is that you’re going to need some patience. My old Raspberry Pi model B runs at 700 MHz and has only 512 MB of memory. Once upon a time, this would have seemed insanely fast, but as I’ve gotten used to having a considerably faster desktop and laptop at my disposal, let’s just say that building your containers may seem slow compared to what you’re used to.
The second challenge is also fairly obvious, but something worth keeping in mind. While you probably run an x86 processor on your computer, your Raspberry Pi’s processor uses an ARM chipset, so if you aren’t going to be able to copy a container from your main computer to your Pi and have it work. You can, of course, write your Dockerfile (the text file defining what goes into a container) locally and copy it over, and you can always model your container’s contents on a similar x86 container, but you’re going to have to actually build it on the Pi unless you happen to have a faster ARM-based computer sitting around.
The step-by-step guide and further ideas here: Using Docker to run Node.js on a Raspberry Pi


Pingback: Using Docker to run Node.js on a Raspberry Pi - Open Electronics - Amazonsearch.io