
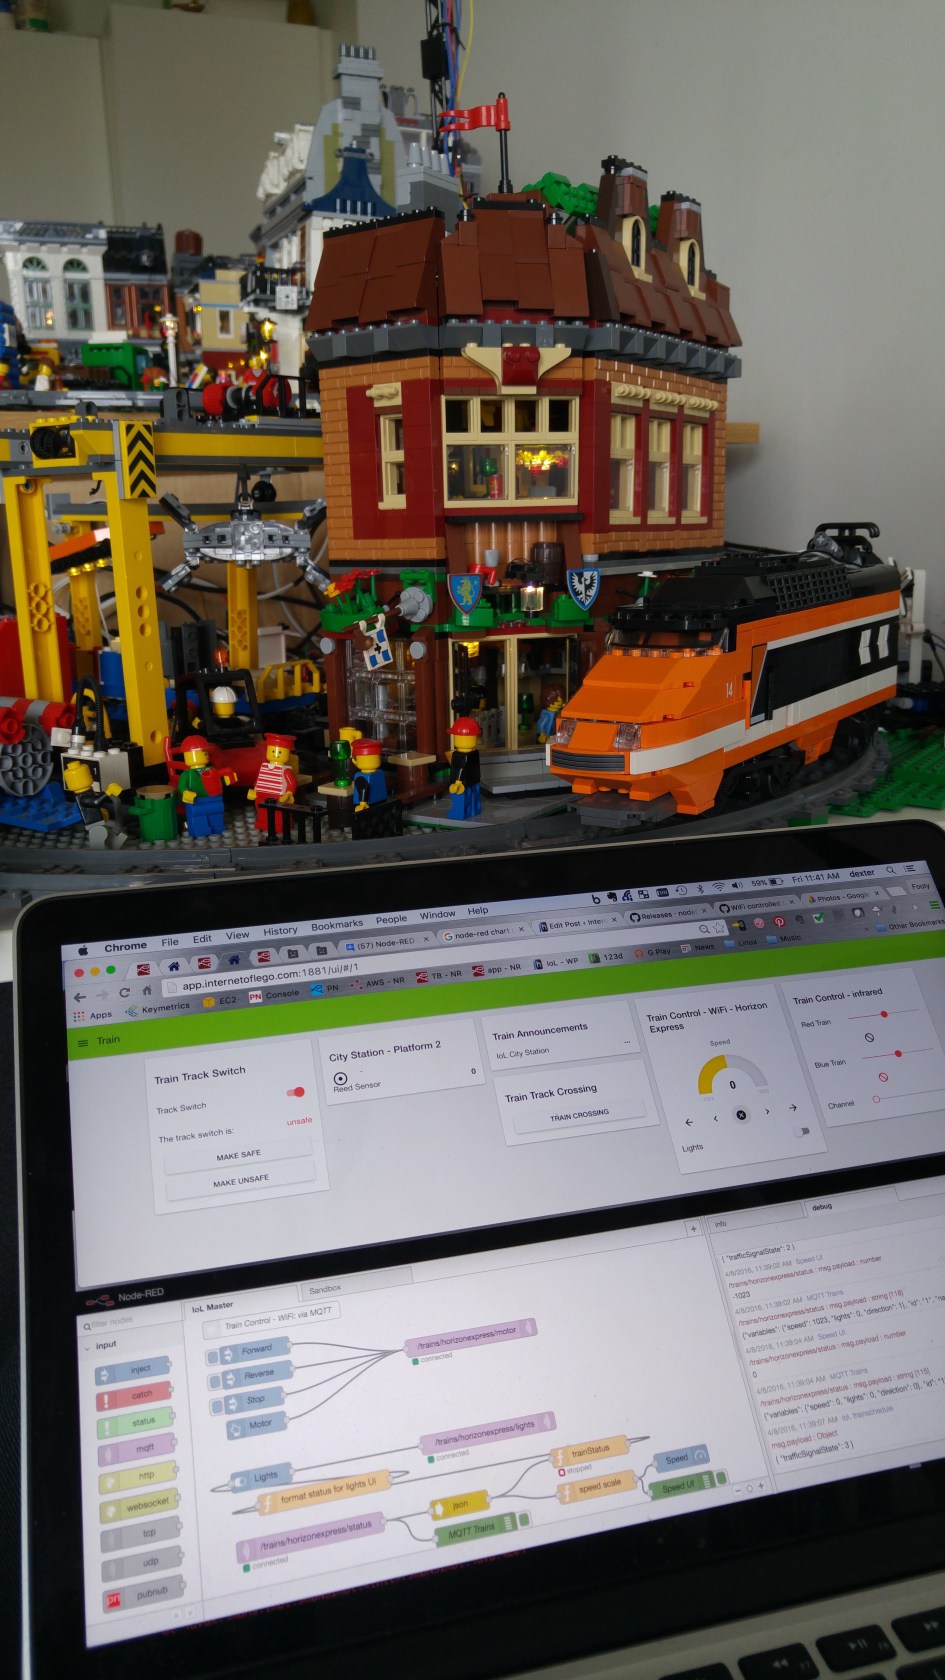
Our mission: Build a WiFi controlled LEGO Power Functions train.
To do that, we used:
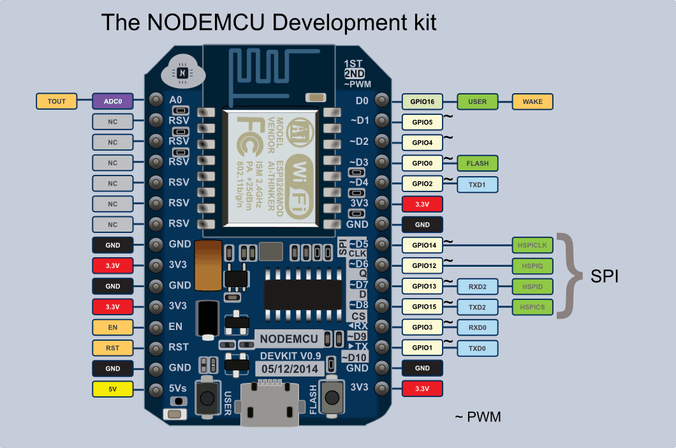
- NodeMCU
- ESP8266 WiFi dev board
- Arduino IDE
- Used to program NodeMCU
- Node-RED
- A platform to connect the Internet of Things
- Raspberry-Pi
- Single board Linux computer to run Node-RED
- LEGO Power Functions & Train
- LiPo battery powered motors
The ESP8266 is the greatest thing since sliced bread, for IoT projects. It’s basically an 802.11n WiFi chip with a microcontroller that provides GPIOs. The only issue with this is that it can be a pain to get going. The chip only supports 3.3v and requires some additional circuitry to program and connect to a USB interface. It’s doable, but the small chip expands into a larger circuit which increases overall install size (in development environments). The NodeMCU attempts to solve these problems by placing the ESP8266 on a dev board, that includes GPIO breakouts, a USB interface and power management.
By writing some minimal code on the chip, I can control a motor via a simple REST interface. Basically, I can just go to a web URL and something happens.
To provide a front-end and connect it to the Internet of Things, I will use Node-RED hosted on a Raspberry Pi. Like many of the other Internet of LEGO projects, Node-RED is used to send commands, collect data and build a simple UI to interact with the network.
The motor shield will provide a simple way to power the LEGO train motor. Since the microcontroller is not intended for higher voltages and current, a shield will be used to switch on the heavier loads. This version supports two motors and provides access to the remaining GPIO pins.
The Raspberry Pi will be used to host Node-RED and run a Mosquitto MQTT broker/bridge.
The LEGO Group have released various versions of LEGO train electronics over the years. The latest version uses a LiPo battery, infrared controller and 7.4v motor. This project will effectively replace the infrared controller with a NodeMCU WiFi controller
Follow the step by step guide on Internet of LEGO official page.
