- makeITcircular 2024 content launched – Part of Maker Faire Rome 2024Posted 2 weeks ago
- Application For Maker Faire Rome 2024: Deadline June 20thPosted 2 months ago
- Building a 3D Digital Clock with ArduinoPosted 7 months ago
- Creating a controller for Minecraft with realistic body movements using ArduinoPosted 7 months ago
- Snowflake with ArduinoPosted 8 months ago
- Holographic Christmas TreePosted 8 months ago
- Segstick: Build Your Own Self-Balancing Vehicle in Just 2 Days with ArduinoPosted 8 months ago
- ZSWatch: An Open-Source Smartwatch Project Based on the Zephyr Operating SystemPosted 9 months ago
- What is IoT and which devices to usePosted 9 months ago
- Maker Faire Rome Unveils Thrilling “Padel Smash Future” Pavilion for Sports EnthusiastsPosted 10 months ago
We all build a yellow submarine, yellow submarine, yellow submarine

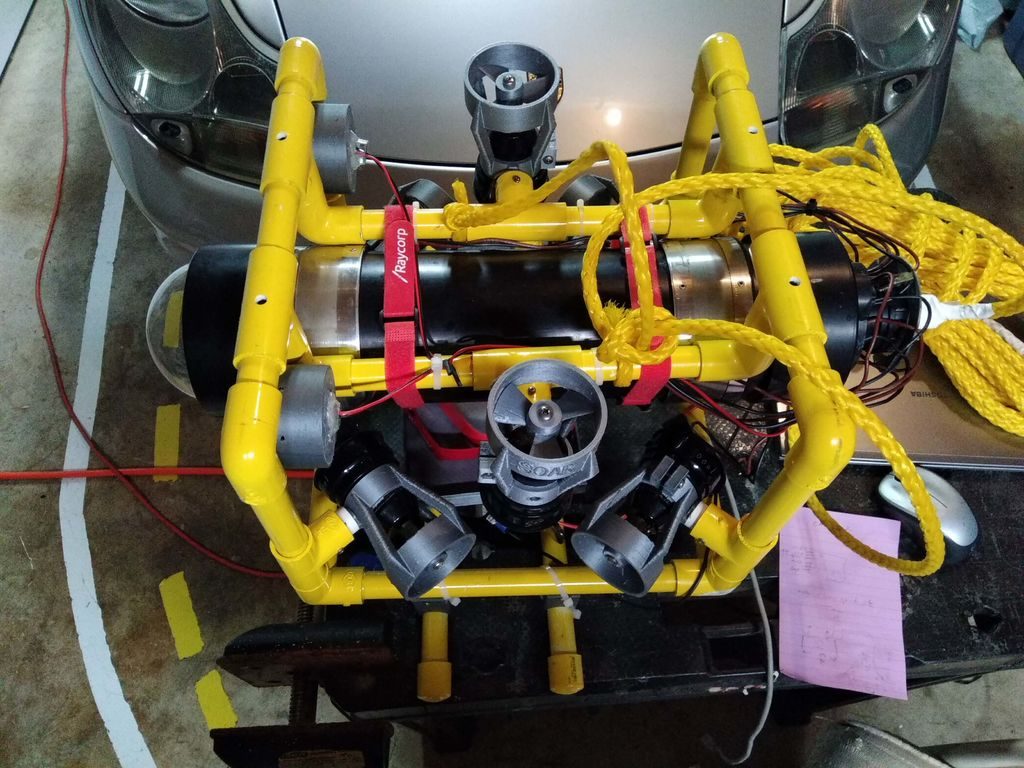
If you’d like to check out your pool or a lake without getting wet, this underwater ROV looks like a great solution.
“My goal was to have it not cost a fortune, have it easy to drive, and to have a camera to show what it sees underwater. I didn’t like the idea of having a wire dangling from the driver’s controls, and I have a variety of radio control transmitters already, so that’s the direction I went, with the transmitter and control box separate. On the 6 channel transmitter I used, the right stick is used for forward/back and left/right. The left stick is Up/Down and turn Clockwise/CCW. This is the same setup used on quad-copters, etc.”
The DIY device features a sturdy PVC frame with six thrusters that allow it to move through water like a drone through the air, and uses the same kind of controller configuration as its airborne cousin. Onboard control is handled by an Arduino Mega along with an FPV camera, which transmits signals back to a base station via an Ethernet cable stuffed inside a length of polypropylene rope. The driver can then see what the ROV sees on a small display, supplemented with data from the base station’s Arduino Uno and an onscreen display shield.
Check the Intructables for further information.


