- makeITcircular 2024 content launched – Part of Maker Faire Rome 2024Posted 2 weeks ago
- Application For Maker Faire Rome 2024: Deadline June 20thPosted 2 months ago
- Building a 3D Digital Clock with ArduinoPosted 7 months ago
- Creating a controller for Minecraft with realistic body movements using ArduinoPosted 7 months ago
- Snowflake with ArduinoPosted 8 months ago
- Holographic Christmas TreePosted 8 months ago
- Segstick: Build Your Own Self-Balancing Vehicle in Just 2 Days with ArduinoPosted 8 months ago
- ZSWatch: An Open-Source Smartwatch Project Based on the Zephyr Operating SystemPosted 9 months ago
- What is IoT and which devices to usePosted 9 months ago
- Maker Faire Rome Unveils Thrilling “Padel Smash Future” Pavilion for Sports EnthusiastsPosted 10 months ago
Python on ESP32: easy for beginners, powerful for professionals
The ESP32 from Espressif is one of the most popular low-power microcontrollers with integrated WiFi and Bluetooth on the market. That is why we have decided to share a tutorial with you on how to get started with the ESP32 and Zerynth Studio.
As an article on the Espressif website states: “Zerynth has provided the large community of ESP32-lovers with a tool for the easy development of embedded IoT applications in Python.”
Zerynth is a middleware for the Internet of Things and Industry 4.0. Zerynth provides developers with an ecosystem of software tools for programming microcontrollers using Python and then connect them to the Cloud.
Programming microcontrollers in Python with Zerynth is equally easy, flexible, and powerful. Especially with a board based on the ESP32 by Espressif Systems. So start the tutorial and learn why everyone is using it.
Download Zerynth Studio
Get ready to start this tutorial, and if you haven’t downloaded Zerynth Studio yet, now is a great chance. Zerynth Studio is cross-platform – available for Windows, Linux, and Mac OS.

NodeMCU ESP-32S – Device summary
The NodeMCU ESP-32S is one of the development board created by NodeMcu to evaluate the ESP-WROOM-32 module. It is based on the ESP32 microcontroller by Espressif Systems that boasts Wifi, Bluetooth, Ethernet and Low Power support all in a single chip.
Microcontroller: Tensilica 32-bit Single-/Dual-core CPU Xtensa LX6
- Operating Voltage: 3.3V
- Input Voltage: 7-12V
- Digital I/O Pins (DIO): 28
- Analog Input Pins (ADC): 8
- Analog Outputs Pins (DAC): 2
- UARTs: 3
- SPIs: 2
- I2Cs: 3
- Flash Memory: 4 MB
- SRAM: 520 KB
- Clock Speed: 240 Mhz
- Wi-Fi: IEEE 802.11 b/g/n/e/i:
- Integrated TR switch, balun, LNA, power amplifier and matching network
- WEP or WPA/WPA2 authentication, or open networks
Pin mapping
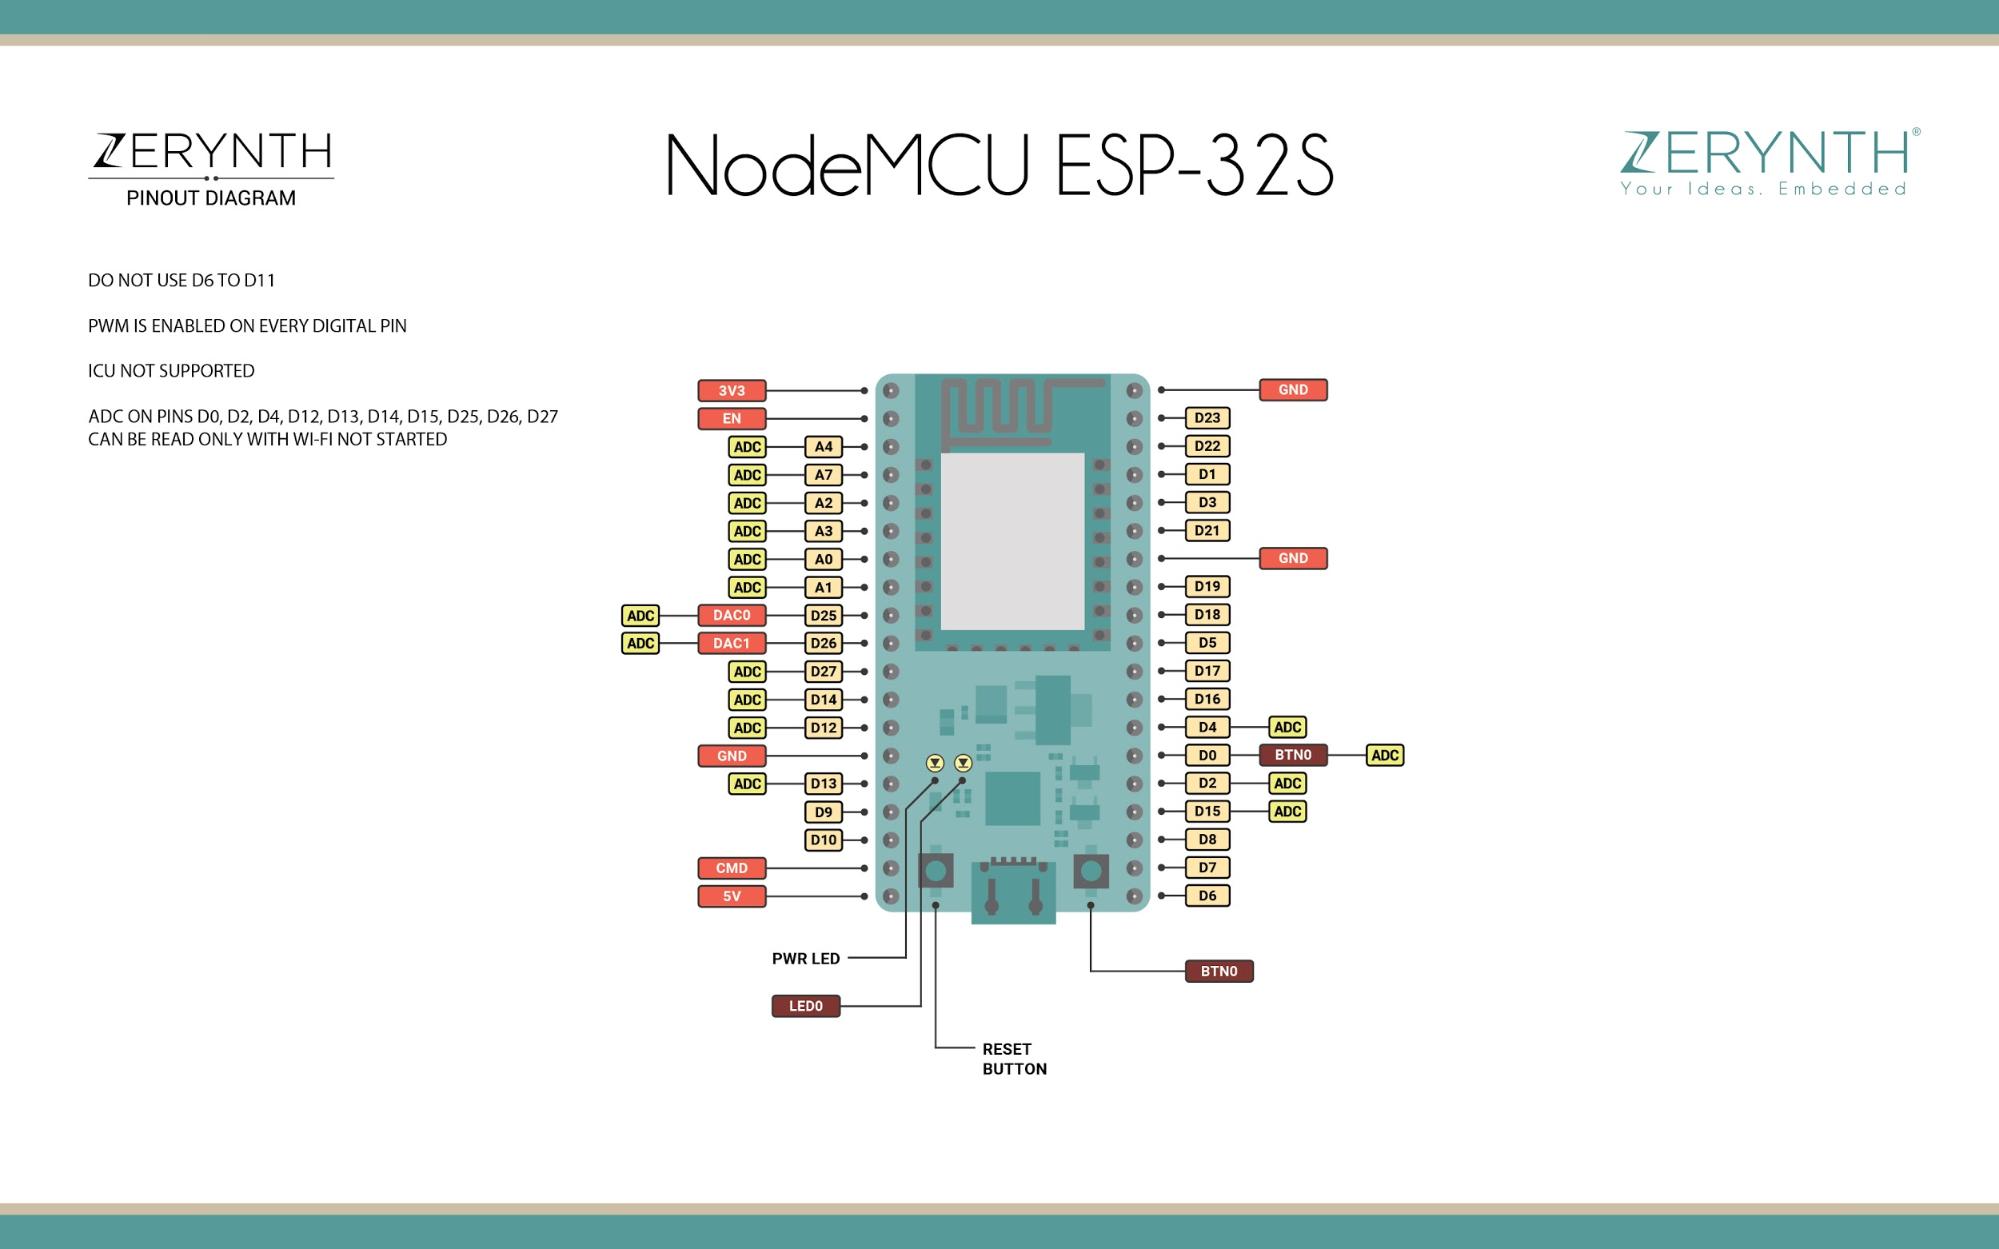
Reference for NodeMCU ESP-32S can be found here.
Power
Power to the NodeMCU ESP-32S is supplied via the onboard USB Micro B connector or directly via the “VIN” pin. The power source is selected automatically.
The device can operate on an external supply of 6 to 20 volts. If using more than 12V, the voltage regulator may overheat and damage the device. The recommended range is 7 to 12 volts.
Connect, Register and Virtualize the board
The NodeMCU ESP-32S comes with a serial-to-usb chip on board that allows programming and opening the UART of the ESP32 module. Drivers may be needed depending on your system (Mac or Windows) and can be download from the official Espressif documentation page. In Linux systems, the NodeMCU ESP-32S should work out of the box.
Once connected on a USB port, if the drivers have been correctly installed, the device is recognized by Zerynth Studio. The next steps are:
- Select the NodeMCU ESP-32S on the Device Management Toolbar (disambiguate if necessary);
- Register the device by clicking the “Z” button from the Zerynth Studio.
- Create a Virtual Machine for the device by clicking the “Z” button for the second time;
- Virtualize the device by clicking the “Z” button for the third time.
You can find more info about this workflow here.
Create your first Python script
After virtualization, the NodeMCU ESP-32S is ready to be programmed and the Zerynth scripts uploaded. To create your first Python script with Zerynth just clone the example “Hello Zerynth” following these easy steps:
- open the Examples browser by clicking on the “light bulb” icon on the left panel of Zerynth Studio;
- select the example “Hello Zerynth” and clone it by clicking on the dedicated button;
- At this stage Zerynth converts the example into a new project giving you the possibility to edit the Title, the Description and the Folder of your new project;
- click on “Create” and you are done!
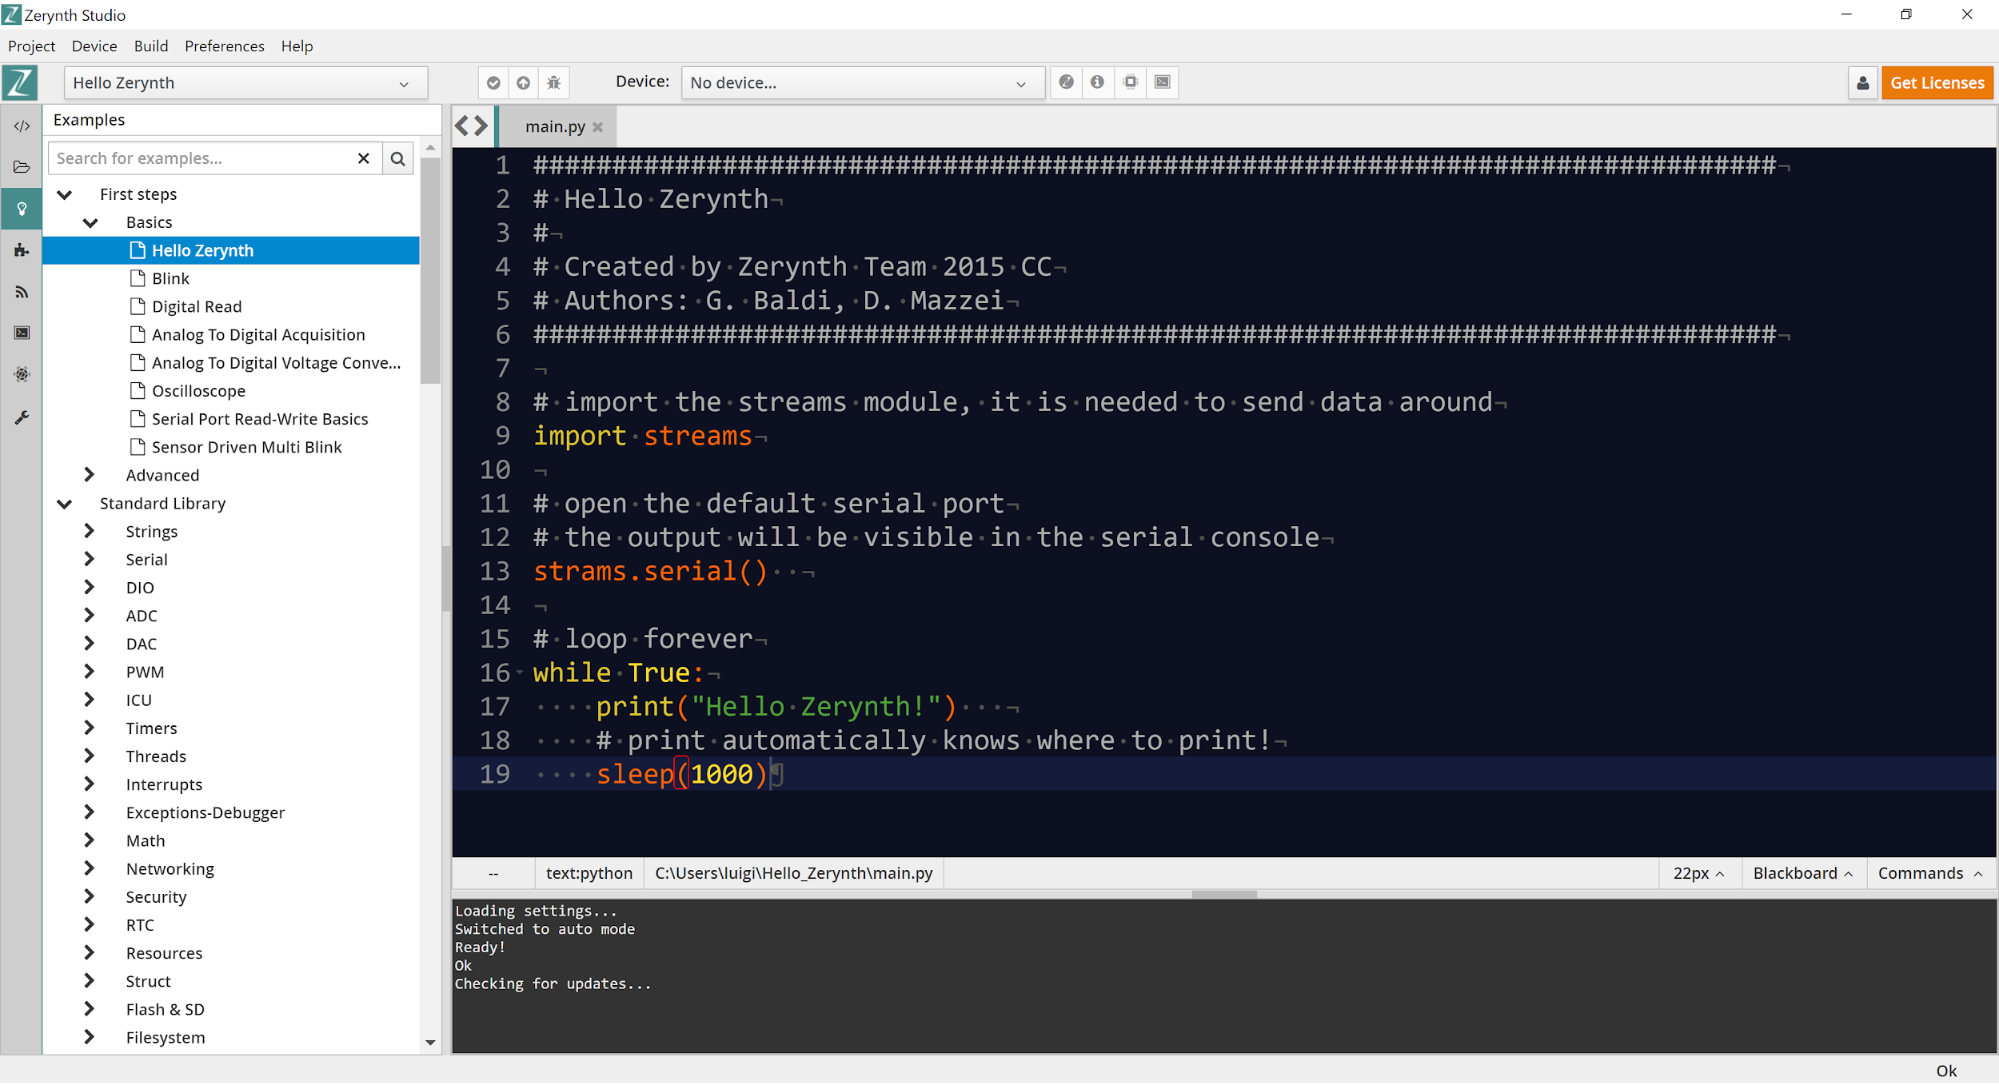
Verify and Uplink a Zerynth Project
The buttons on the upper left toolbar allow you to verify and uplink a script into a device. To verify a project click on the Verify icon to check your script for errors.

The errors will be reported in the console and in the code editor with helpful tooltips.

To Uplink your verified project into a Virtualized device just click the Uplink icon and follow the Zerynth Studio messages.
And here’s the code, take a look!
# Hello Zerynth
# import the streams module, it is needed to send data around
import streams
# open the default serial port, the output will be visible in the serial console
streams.serial()
# loop forever
while True:
print("Hello Zerynth!") # print automatically knows where to print!
sleep(1000)
Useful video tutorials
If you want to learn more about programming the ESP32 in Python, check out this video tutorial from the Zerynth channel.
The workflow is the same as the one we just explained above, so you will find it easy to follow.
And here are some other video tutorials that you might find interesting:
- Python on ESP32 DevKitC using Zerynth Studio – Mini Web Server
- Multithreading on Sparkfun ESP32 Thing using Zerynth (Python for Microcontrollers and IoT)
- Python on DFRobot Firebeetle ESP32 using Zerynth
- Read and Write on Serial Port with Zerynth (Python for Microcontrollers and IoT)
Connecting microcontrollers to the Cloud with ease

With Zerynth, connecting your project to the Cloud is easily done with just a few lines of code in Python. We wanted to make sure that this step in your development process is not an obstacle, but a simple and straightforward task.
If you want to learn how to connect this device to the some of the top Cloud providers, check out the tutorials from the list below:
- Connecting IoT devices to Microsoft Azure with Zerynth
- Connecting ESP32 to Google IoT Core with Zerynth Studio
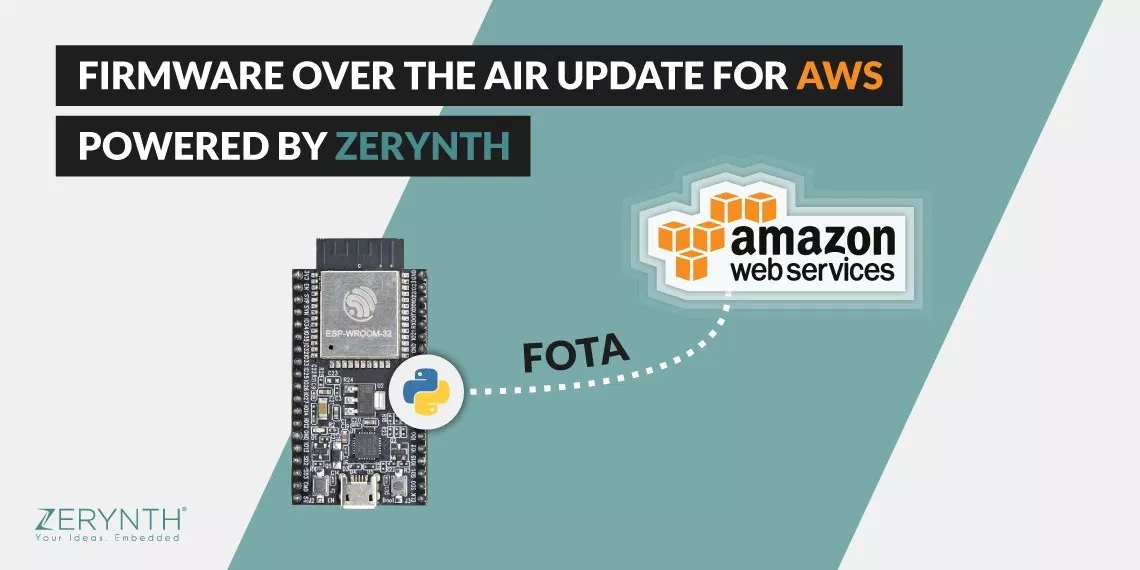
- Firmware Over-the-air updates via AWS powered by Zerynth
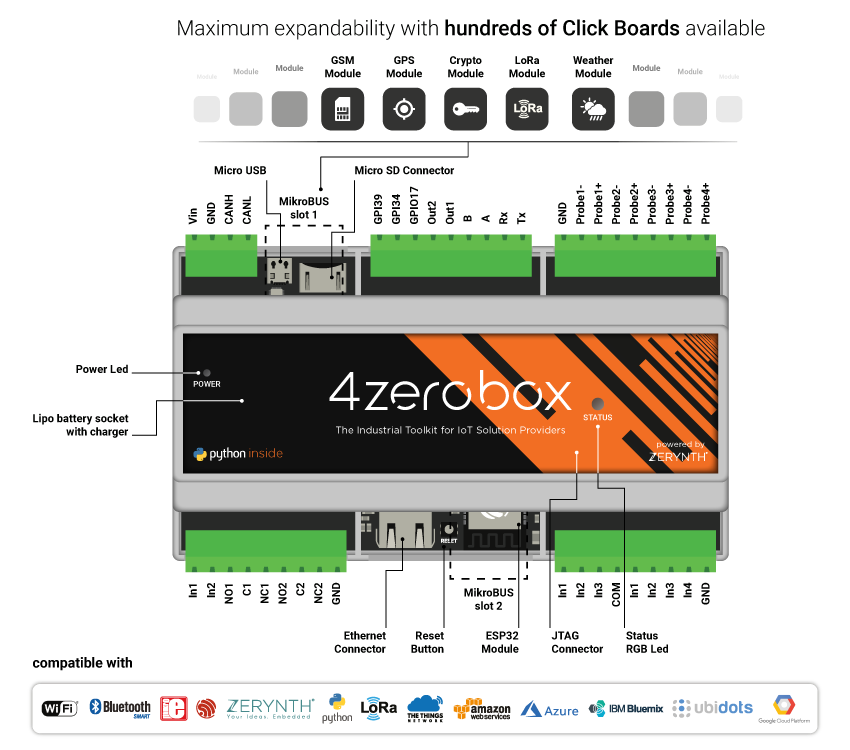
Not only prototypes! Get ready for Industry 4.0
Even though this is just a prototype, we wanted to remind you that the 4zerobox, the industrial toolkit for IoT solution providers, is based exactly on the ESP32 device and Zerynth allows reusing the code you’ve already written for your prototype. Cool, huh? Say thanks to our Zerynth Virtual Machine and its hardware abstraction layer features.
Do you want to learn more?
If you want to learn more about working with Zerynth Studio, connecting your devices to the Cloud, industry 4.0 applications, and LoRaWAN, come to Pisa this October and join us at The Things Conference on Tour.
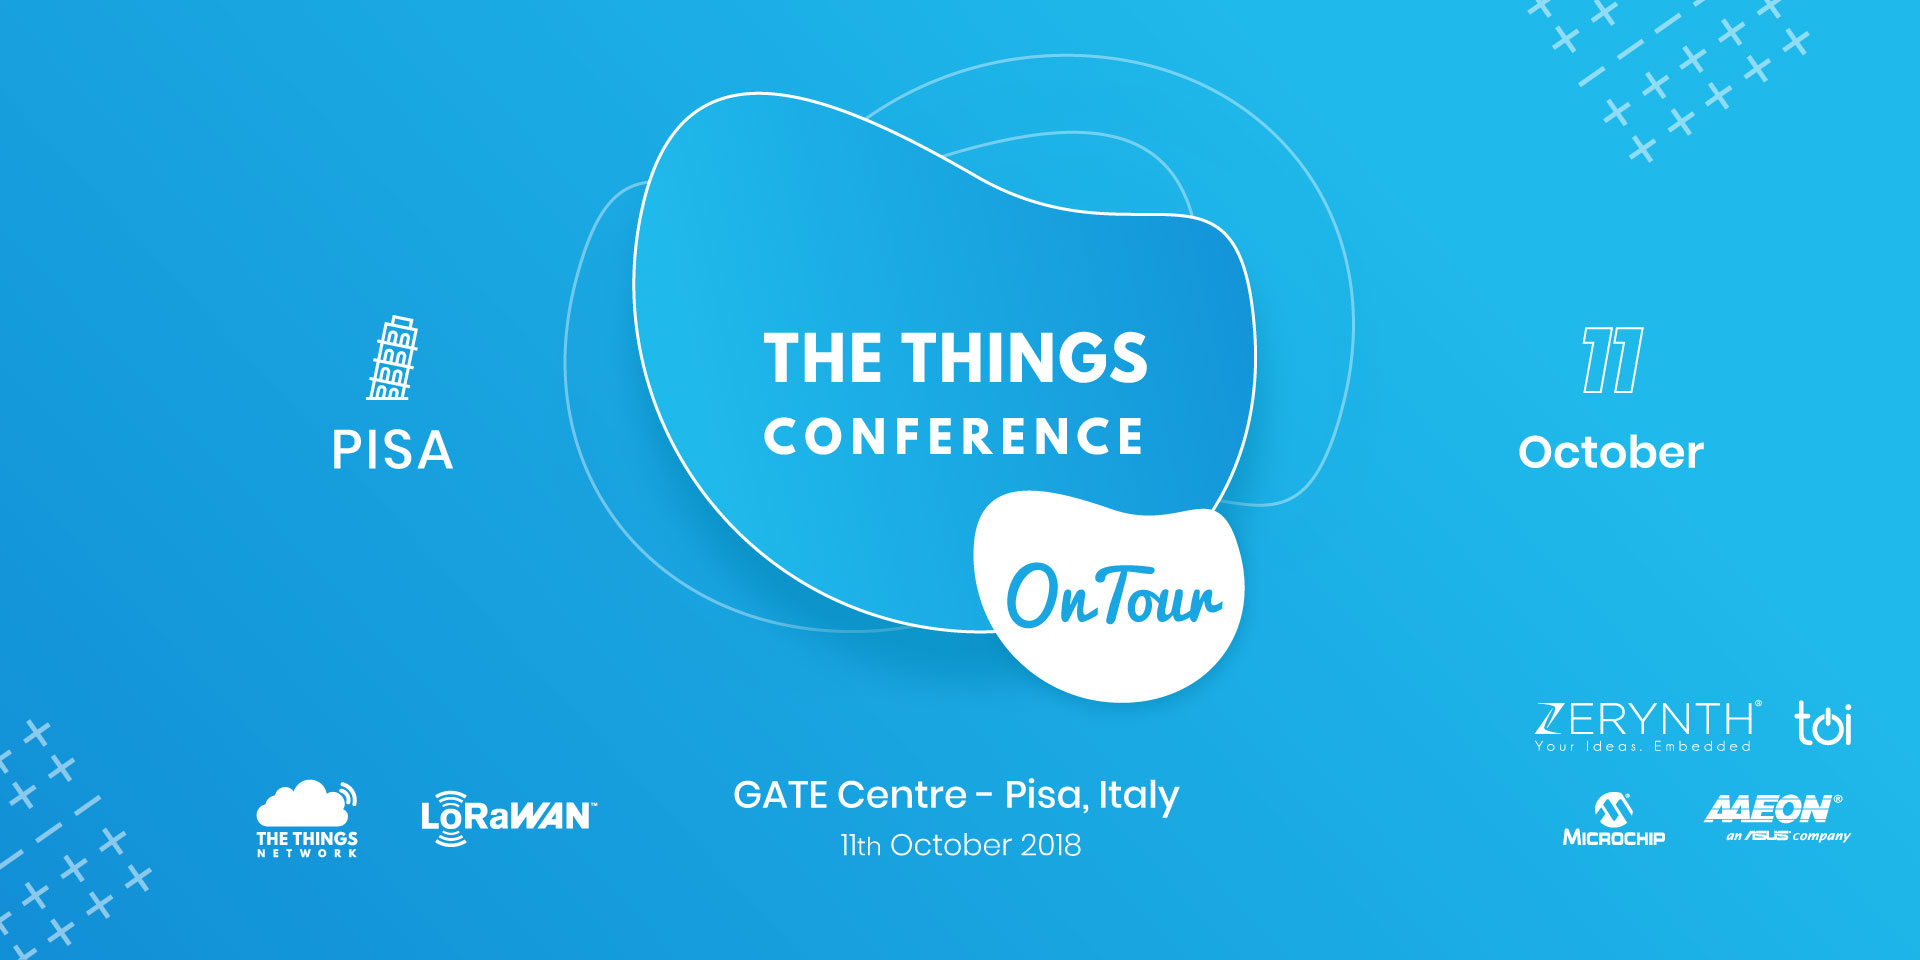
The conference will take place on the 11th of October this year, at the innovative GATE Centre (where Zerynth’s R&D offices are).
This is an amazing chance to learn about the topics you are most passionate about from people who have been doing it for years.


