Last month we spoke about the new Raspberry PI TV Hat announcement. Now we can see an example about how to use it for your next project!
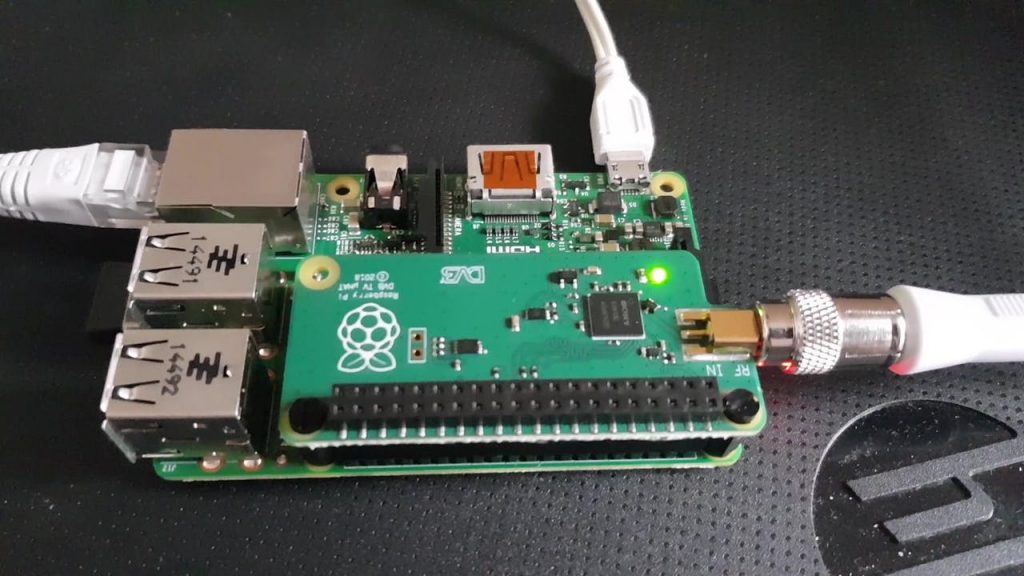
Just to briefly recap, the Raspberry Pi TV HAT allows you to receive digital terrestrial TV broadcast systems which includes DVB-T and DVB-T2 on a Raspberry Pi.
Specification of the Pi TV HAT include :
– Sony CXD2880 TV tuner
– Supported TV standards: DVB-T2, DVB-T
– Reception frequency: VHF III, UHF IV, UHF V
– Channel bandwidth:
– DVB-T2: 1.7MHz, 5MHz, 6MHz, 7MHz, 8MHz
– DVB-T: 5MHz, 6MHz, 7MHz, 8MH
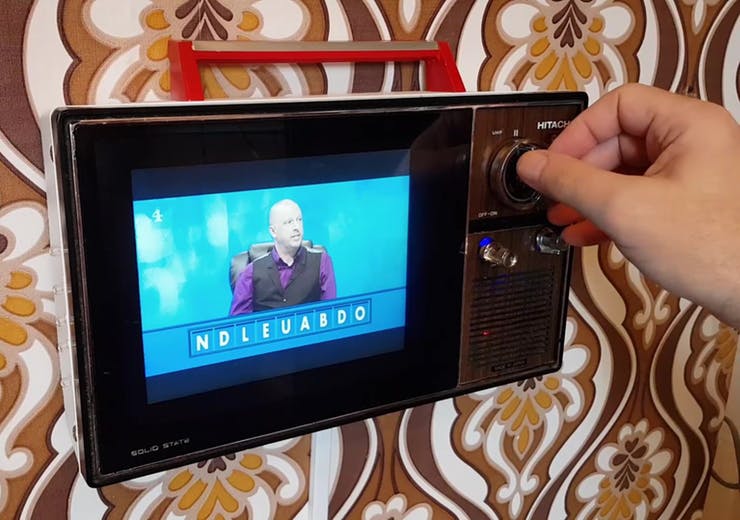
Martin Mander has published on Hackster.io a full guide to bring some analogue control to the digital TV, by using a rotary switch to change channels on a Raspberry Pi-powered vintage television.
The TV HAT accessory was released recently and with my love of converting old TVs (several published so far) I just had to buy one straightaway. I’ll briefly cover the setup of the hardware and software, but the real test for the TV HAT was whether I’d be able to view its DVB-T stream on one of my existing TV conversions and control it with the original tuning dial.
Watch the video below to learn more about the Pi TV HAT.
