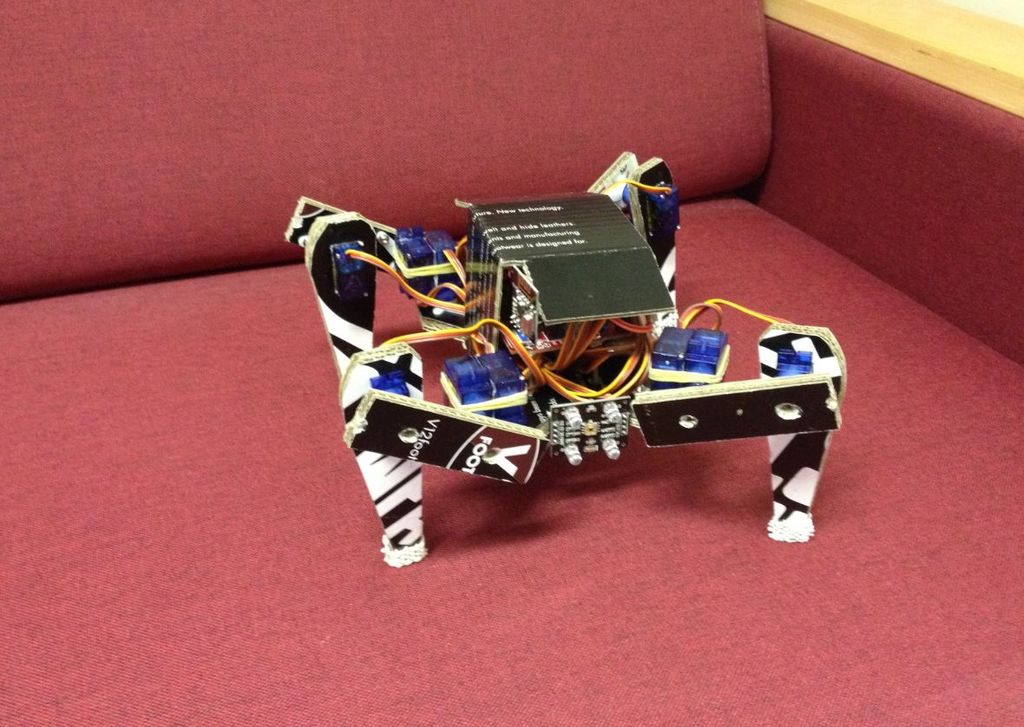

If you thinks that a 3d printer or CNC equipment is absolutely necessary to build a quadruped robot…maybe you should carefully check out this project. Instructables user Raz85 has built a quadruped using a structure comprised entirely out of corrugated cardboard.
“In my case I used a shoes box which I’ve cut and make the frame out of it. The carton that was provided by my box was a 2 mm thick so it is very thin. So for each part of the frame I’ve had to cut three identical parts and glue them together with double tape scotch. So actually we will have to make 3 frames to have at the end a 6 mm thick carton.”
Each of the four legs are driven using 9g micro servos, controlled by an Arduino Nano. A human operates the spider-inspired robot with a remote consisting of an Arduino Uno and a small joystick module, while pair of NRF24L01 radio transceivers provide a link between the robot and controller.
Electronical parts required for the Quadruped:
– Arduino Nano Microcontroller;
– Deek Robot Nano V03 Shield – not essential, but it will make the connection of all servos to the Nano Board much easier.
– 12 pcs Tower Pro Micro Servo 9g SG90 – 4 legs with 3 joints each;
– LED – for light
– 1 x NRF24L01 transceiver
Electronical parts required for the remote controller
– Arduino Uno Microcontroller;
– 1 x NRF24L01 transceiver;
– Joystick;
– LED;
– Various resistors;
– Push button;
– Some jumper wires;
For the frame:
– Corrugated Carton sheet
– Cutter
– Screw Drivers
– Double tape scotch
– Triangles
– Ruler
– Pencil
