N-O-D-E has this month published a great tutorial providing full instructions on how to create your very own Raspberry Pi home server in the form of a NODE Mini Server V2. The idea behind the home server is to replace remote servers that store your browsing data with those that can be managed and operated by the end-user.
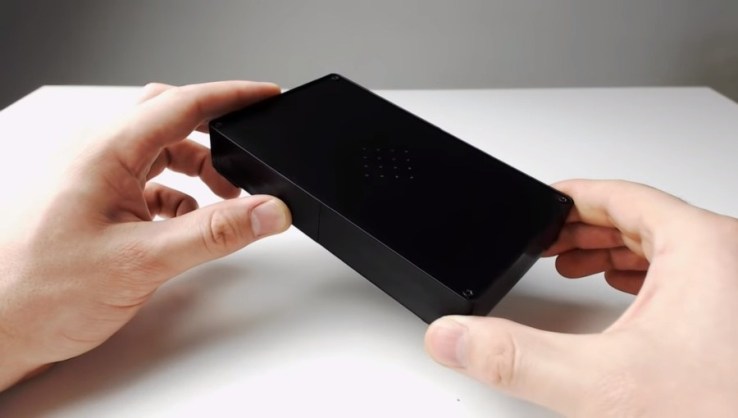
The NODE Mini Server V2 is, as the name suggests, an update to an earlier DIY server. But it’s a pretty nifty looking device that packs a Raspberry Pi 3, a 2.5 inch hard drive, and other components inside a tiny 3D-printed case.
There are some air vents on the top and back of the case, and cut-outs that leave the USB, Ethernet, and SD card slots accessible. Speaking of the ports, they’re actually been separated from the Raspberry Pi itself to help with cooling and reduce the profile of overall size of the NODE Mini Server.
Getting the device working will require desoldering some of the ports from the Pi though. There are more parts to the NODE than just a Pi and a HDD/SSD:
- 3D Printed Case (inc. struts)
- 3D Printed HDD/SSD frame
- Bottom PCB (1.6mm thick)
- Top PCB (1.6mm thick, optionally Aluminium-based)
- Micro SD Card PCB (0.8mm thick)
- SATA Adapter PCB (1.6mm thick)
- 8x M2.5 x 10mm Screws
- 6x M2.5 x 8mm Screws
- 6x M2.5 Hex Nuts
- 4x M3 x 6mm Screws
- Rasbperry Pi 3B+
- 100mm 4pin 1mm Pitch FPC Cable (Contacts on same side)
- 2x 4pin 1mm Pitch FPC Connector (84981-4)
- 2.5-inch HDD or SSD (7mm form factor)
- USB-A 2.0 Female Port
- Standard Micro SD Slot (Push/Push)
- 5.5 x 2.1mm Right Angle DC Jack (694106301002)
- SMD RJ45 Jack (43743-8101)
- S8050 Transistor
- 30x10x10mm 5v Blower Fan (3010B)
- USB SATA Adapter (W25P1)
- Self-adhesive Rubber Feet
Further information are available in the video below.
