
Few days ago pcmag.com has published a complete guide to build yourself a (raspberry pi) retro video game console for less than $100. In this guide you can quickly see how to use an inexpensive Raspberry Pi board to play retro NES, SNES, Game Boy, Sega Genesis, PlayStation, Neo Geo, and even Atari Jaguar and Virtual Boy games.
First of all you need a Raspberry Pi board (they recommend a Raspberry Pi 3 Model B+), a microSD card, a micro USB power adapter, and a case to put it all in. Raspberry Pi cases are cheap and plentiful, and you can even find Raspberry Pi starter sets that include the board, the power supply, a case, and usually a memory card all in one bundle.
If you want to get fancier, you can 3D print your own Raspberry Pi case from a slew of creative models on Thingiverse and other 3D printing sites. You can also order cases separately, with options for creative or nostalgic designs, like the very NES Classic-like Retroflag NESPie.
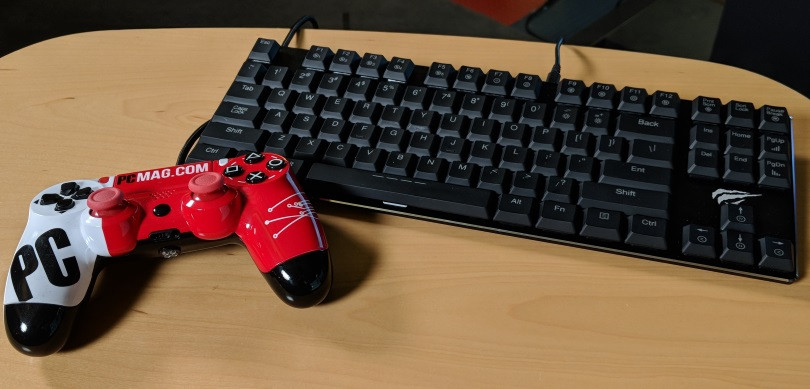
About the game controller, you have more of a chance. RetroPie is robust in terms of controller compatibility, but a PS4 or XBOX One controller will be perfect!
Once you have built the console box and installed the latest version of RetroPie software on your Pi, there are only a few steps to complete. You have only to start your console, set up the controller and load your games: RetroPie can play games from several dozen classic computers and game consoles, thanks to LibRetro’s back-end.
That’s it! You now can play nearly any video game made before 2000!

