If you do not have any screen, keyboard, or mouse to control the Raspberry Pi, but you still need to do some wireless setup, there is a facility to enable wireless networking and SSH when creating an image.
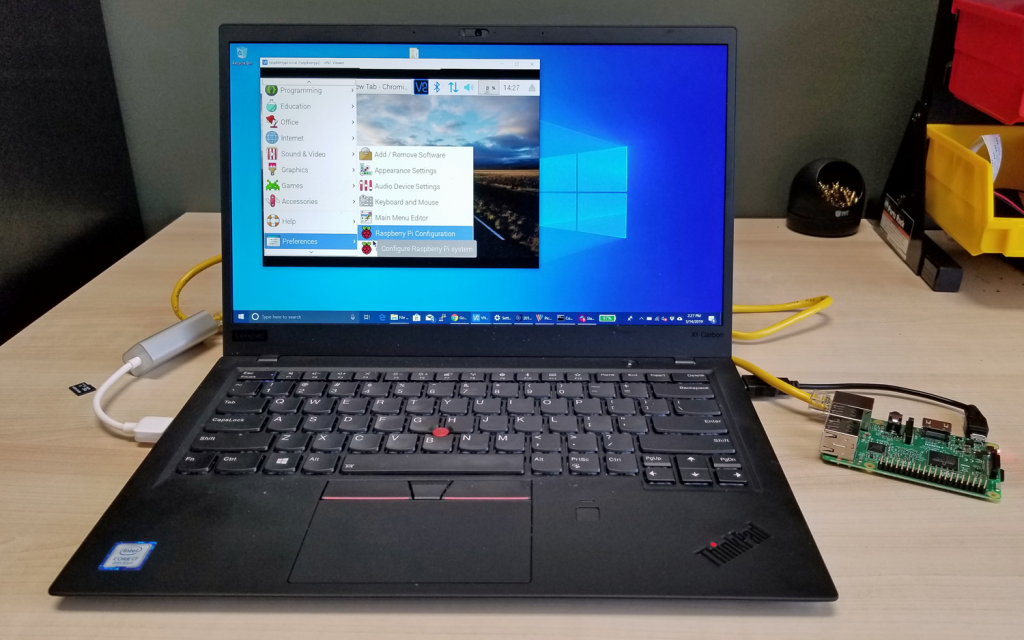
“If you’re just trying to program on the Pi or use it to control electronics such as lights, motors and sensors, there’s no need to connect it to a display because you can control the system remotely, using a VNC or SSH client on your main computer. We call this screenless setup a “headless” Raspberry Pi.”
In order to create a Raspbian system, you do not need any screen or keyboard, and your computer can do the job (following a quick review of initial steps):
- Put an SD Card into your Linux or Windows laptop and install Raspbian Os on it
- Enable the ssh connection, you simply have to create a file named ssh in the boot partition
- Connect the Raspberry Pi to your Wi-Fi router. To setup a Wi-Fi connection on your headless Raspberry Pi, create a text file called wpa_supplicant.conf, and place it in the root directory of the microSD card.
Take a look at tomshardware.com for the complete guide about how to configure your Pi into headless mode.