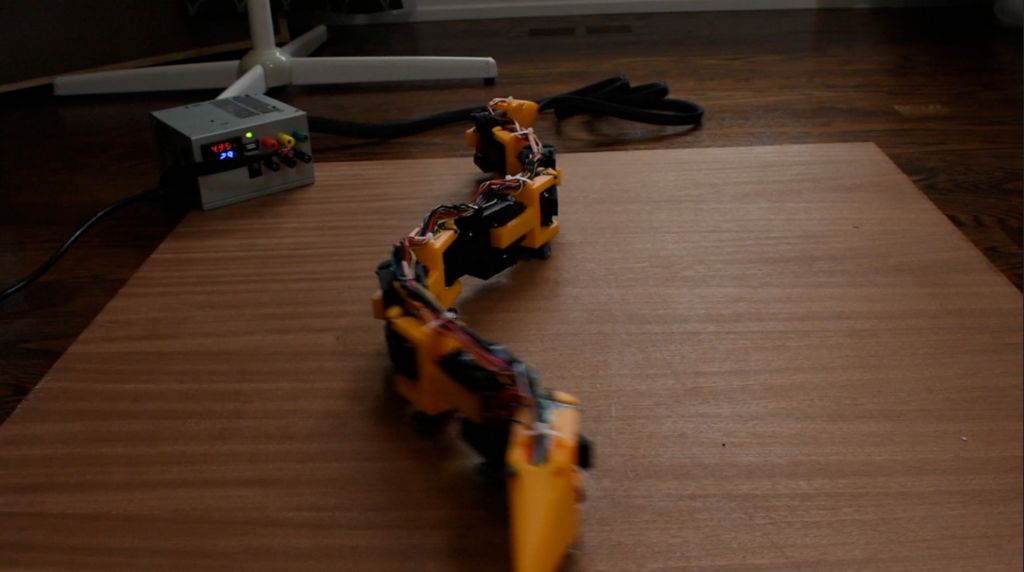
Will Donaldson recently released a full instructable to build two different 3d printed robotic snakes: the first is a single axis while the second is a double axis snake.
“This instructable is technically a 2-in-1, in that I explain how to make 2 different versions of a robotic snake. If you are only interested in building one of the snakes ignore the instructions for the other snake. These 2 different snakes will be from here on referred to using the following phrases interchangeably:
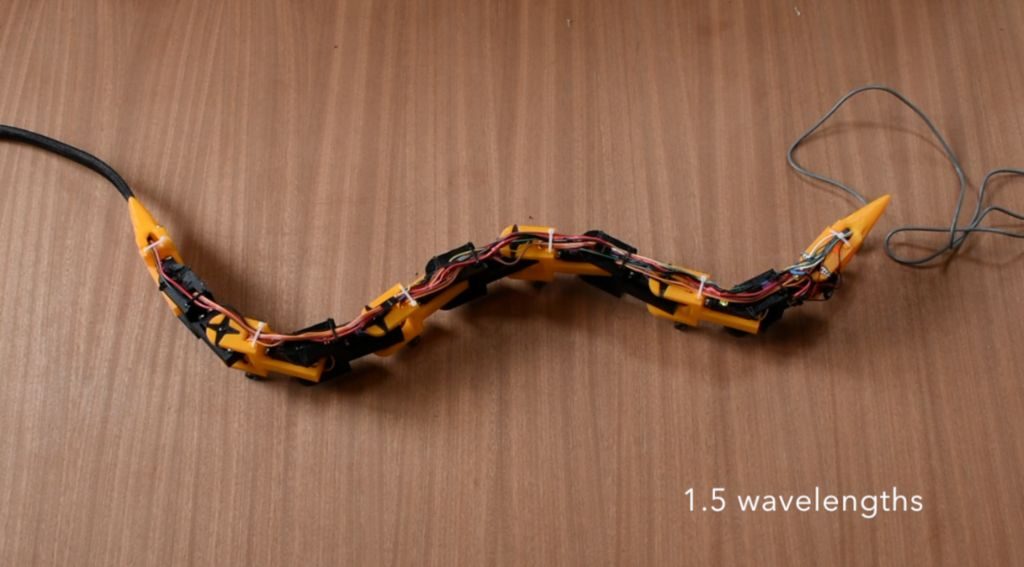
- Single axis snake, 1D snake, or yellow and black snake
- Double axis snake, 2D snake, or white snake
Of course you can print the snakes in any colour filament you want. The only difference between the two snakes is that in the 2D snake each motor is rotated 90 degrees relative to the previous, whereas in the 1D snake all the motors are aligned in a single axis.”
Donaldson’s project uses 10 metal gear servos to allow his robotic snake to curl its body back and forth, sliding along on small wheels that replace a real serpent’s bottom scales. An Arduino Nano controls its 10 segments, and power is provided by an external tether from a recycled desktop power supply.
In the video below you can see Donaldson’s experimentation with several different snake builds and forms of locomotion:
