- makeITcircular 2024 content launched – Part of Maker Faire Rome 2024Posted 2 weeks ago
- Application For Maker Faire Rome 2024: Deadline June 20thPosted 2 months ago
- Building a 3D Digital Clock with ArduinoPosted 7 months ago
- Creating a controller for Minecraft with realistic body movements using ArduinoPosted 7 months ago
- Snowflake with ArduinoPosted 8 months ago
- Holographic Christmas TreePosted 8 months ago
- Segstick: Build Your Own Self-Balancing Vehicle in Just 2 Days with ArduinoPosted 8 months ago
- ZSWatch: An Open-Source Smartwatch Project Based on the Zephyr Operating SystemPosted 9 months ago
- What is IoT and which devices to usePosted 9 months ago
- Maker Faire Rome Unveils Thrilling “Padel Smash Future” Pavilion for Sports EnthusiastsPosted 10 months ago
Cake hacking with open hardware
Brillian initiative by Alicia Gibb, bringing cakes to life with LED and open source embedded computing!
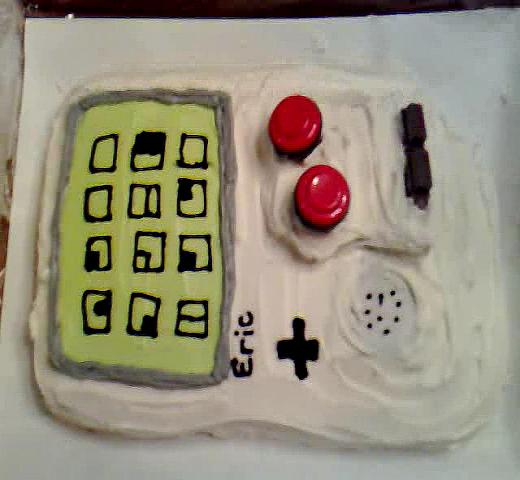
Most cakes I’ve put electronics in have been for friends’ birthdays. I’ve made cakes with LED candles, cakes with motorized candles (fun flame effects!), singing cakes, and even a Game Boy cake with Mario Bros sounds. I generally use open hardware Arduinos to run the cakes. Not wanting to poison friends on their birthdays, I’ve learned a few tricks along the way.
This set of instructions offers general steps for any cake you’re embedding electronics into:
- Bake the cake first, according to your recipe. Do not bake the electronics directly into the cake.
- The green 4″ x 2.5″ x 1″ IKEA tupperware is a perfect fit for an Arduino Uno or derivative product of the same size.[1] You can house the board and a 9-volt battery in the tupperware, then poke holes in the top for wires to come out. If you don’t have tupperware, lining the cake with parchment is another option.
- Saran wrap all wires and components well. I like using professional-grade saran wrap because it really sticks and stretches around stuff. All wires and solder joints need to be saran wrapped so nothing leaches into the cake, since solder isn’t naturally food safe.[2]
- Take a picture of the inside of the cake before frosting it so you can remember where the wires are, and remember not to cut through them!
- Turn the power source on and ensure everything works as planned (hopefully you’ve prototyped your concept before embedding it in a cake).
- Put down a layer of parchment paper bridging any gaps between the top of the cake and the tupperware to give it a little more structure when frosting.
Give your friends a thrill on their next birthday! All the schematics, code and ideas in this article are CC BY-SA Alicia Gibb so feel free to build upon my ideas and use them in your special occasion cakes. Once you build the electronics they can be transferred into another cake, so save your work and use it in future delights. Happy Hacking!
Source: Cake hacking with open hardware


