
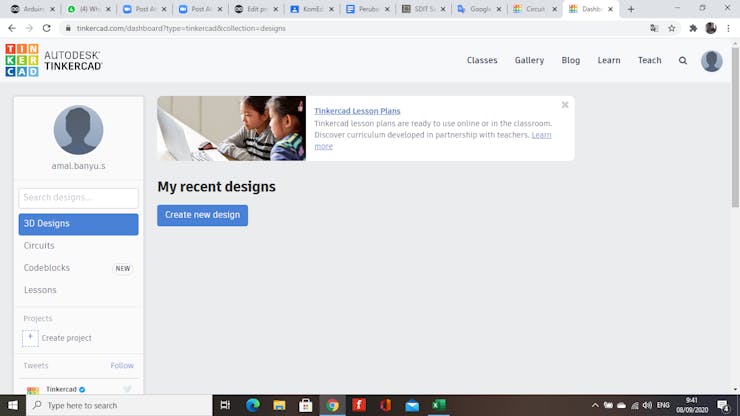
So, to do a virtual experiment, go to the tinkercad.com site. First of all, click join now. Then, you have to sign in with your email, after signing in, it will look like this:
Click circuits, then click create new circuit. After that, the screen will change like this:
Then, click and drag the LED, Resistor and Arduino Uno R3 to the empty box next to the component. To make cables, pull the component feet and connect the pins or pin holes to the other components. Then, click code. Click the drop down box that says blocks, and select text. Write a program there. Click start simulation to run an experiment. It’s easy, right?
_t92qKJcXsn.png?auto=compress%2Cformat&w=740&h=555&fit=max)
