- makeITcircular 2024 content launched – Part of Maker Faire Rome 2024Posted 2 weeks ago
- Application For Maker Faire Rome 2024: Deadline June 20thPosted 2 months ago
- Building a 3D Digital Clock with ArduinoPosted 7 months ago
- Creating a controller for Minecraft with realistic body movements using ArduinoPosted 7 months ago
- Snowflake with ArduinoPosted 8 months ago
- Holographic Christmas TreePosted 8 months ago
- Segstick: Build Your Own Self-Balancing Vehicle in Just 2 Days with ArduinoPosted 8 months ago
- ZSWatch: An Open-Source Smartwatch Project Based on the Zephyr Operating SystemPosted 9 months ago
- What is IoT and which devices to usePosted 9 months ago
- Maker Faire Rome Unveils Thrilling “Padel Smash Future” Pavilion for Sports EnthusiastsPosted 10 months ago
IKEA lamp mod – STRÅLA
I love IKEA and her low cost products.
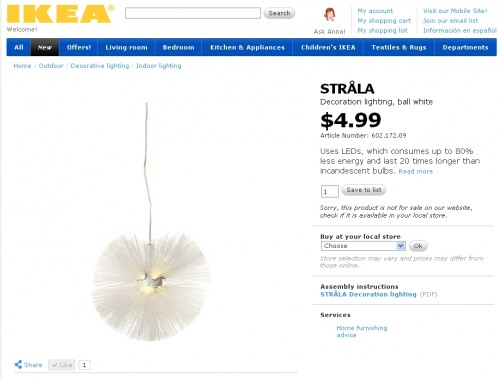
Last week I found this STRÅLA lamp.
The cost is $4.99, so I bought it.
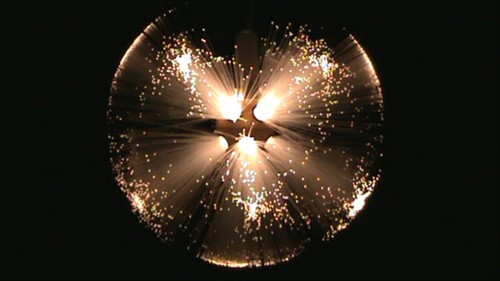
Lighting the lamp I saw that it ‘s very pretty but also … too soft…
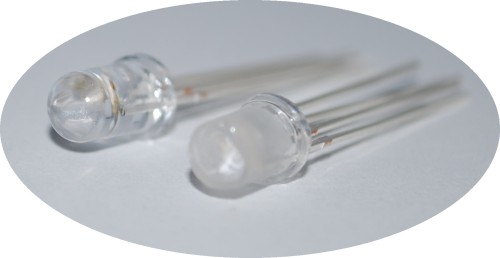
So I thought to modify the LED and add a RGB led.
With simple modify you can obtain a dinamic lamp.
I used an Arduino to do a fast work, but of course it isn’t necessary.
You can use a small microcontroller like a PIC12F675, or a ATTiny.
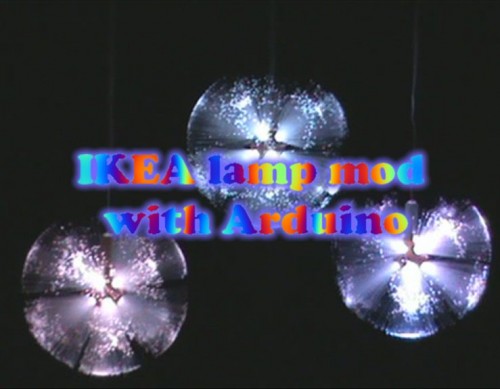
And this it the result:
[iframe_loader src=”http://www.youtube.com/embed/R7X_gqVrlv0?hl=it&fs=1″ height=”349″ width=”425″ ]
How to
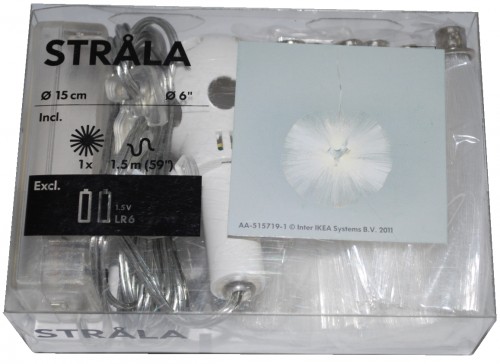
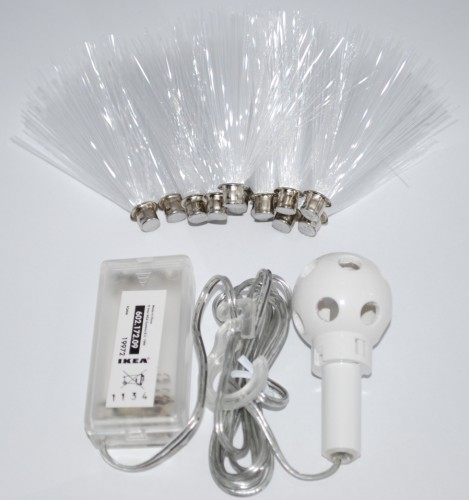
Before all, you have to buy a STRÅLA
Open the package
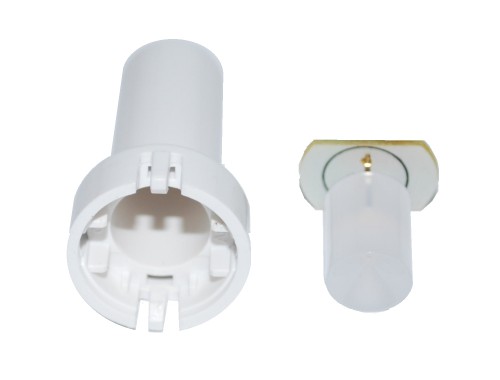
And disassemble the original LED
As you can see the LED shape isn’t normal, but there is a cone in the center to better spread the light.
So I modify the RGB led to obtain the same effects and I also smoothed the surface.
Connect the wire to the led and reassemble all.
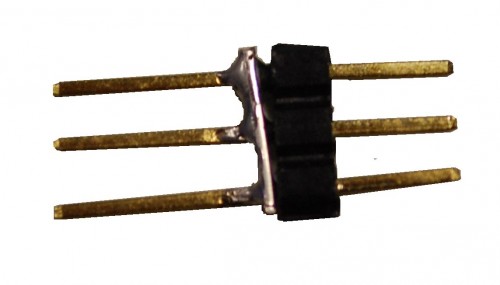
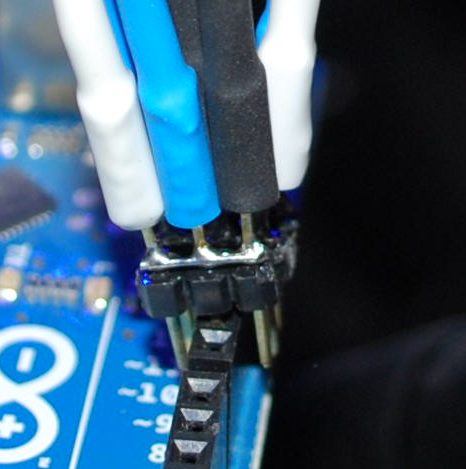
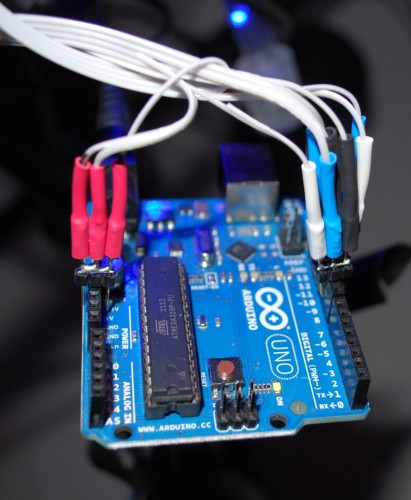
To connect the RGB led I used a strip wire and some pin.
And now you can connect this pin to PWM ports of Arduino.
The black, blue and white wire are the RGB pin of the LED.
The red one is the Anode.
The sketch
/* IKEA Strala mods

 created 2011
 by Boris Landoni

 This example code is in the public domain.

 http://www.open-electronics.org
 http://www.futurashop.it
 http://blog.elettronicain.it/
 */

#include <EEPROM.h>

int red = 9;    // RED LED connected to PWM pin 3
int green = 10;    // GREEN LED connected to PWM pin 5
int blue = 11;    // BLUE LED connected to PWM pin 6
int r=50; int g=100; int b=150;
int rup; int gup; int bup;
int fader=1;
int inc=10;
void setup()
{
  // start the Ethernet connection and the server:
      Serial.begin(9600);
      Serial.println("Serial READY");
      r = EEPROM.read(1);
      g = EEPROM.read(2);
      b = EEPROM.read(3);
      inc = EEPROM.read(4);
      fader = EEPROM.read(5);
      rgb(r, g, b);
}

void loop()  {

  if (fader==1){
    funcfader();
  }

}

void funcfader(){
    Serial.println("fader");
    if (rup==1){r+=1;}
    else{r-=1;}
    if (r>=255){rup=0;}
    if (r<=0){rup=1;}

    if (gup==1){g+=1;}
    else{g-=1;}
    if (g>=255){gup=0;}
    if (g<=0){gup=1;}

    if (bup==1){b+=1;}
    else{b-=1;}
    if (b>=255){bup=0;}
    if (b<=0){bup=1;}

    delay(inc*2);
    rgb(r, g, b);
}

void rgb(int r, int g, int b)
{

  Serial.print("RGB: ");
  Serial.print(r);
  Serial.print(" ");
  Serial.print(g);
  Serial.print(" ");
  Serial.print(b);
  if (r>255) r=255;
  if (g>255) g=255;
  if (b>255) b=255;
  if (r<0) r=0;
  if (g<0) g=0;
  if (b<0) b=0;

  analogWrite(red, r);
  analogWrite(green, g);
  analogWrite(blue, b);
}
Good modding



Pingback: hackaholicballa - RGB upgrade for Ikea single color fiber optic lamp
Pingback: RGB upgrade for Ikea single color fiber optic lamp | TechnoFiesta
Pingback: RGB upgrade for Ikea single color fiber optic lamp « LED Lighting – LEDs, Home LEDs, LED Strips