- Wireless Power TransferPosted 12 hours ago
- Robot Punchers with ArduinoPosted 1 day ago
- A minimal 3D-printed scalePosted 3 days ago
- Expanding the pins of a microcontrollerPosted 7 days ago
- Let’s create a small level with a matrix displayPosted 1 week ago
- ChatGPT: Writing Code with Artificial IntelligencePosted 1 week ago
- Free Webinar: Arduino IoT Cloud and ESP32 DemoboardPosted 1 week ago
- Maker Faire Rome – The European edition and FAE Technology launch the contest “MY Maker PCBA: your electronics for a better planet”Posted 3 months ago
- Efficient and Compact Stereo Power Amplifier: Unleash High-Quality Audio with the PAM8610Posted 3 months ago
- Terminus FE1.1 USB hub board: the solution to connect four USB devicesPosted 6 months ago
Build your own Milliohm-Meter with Arduino Nano
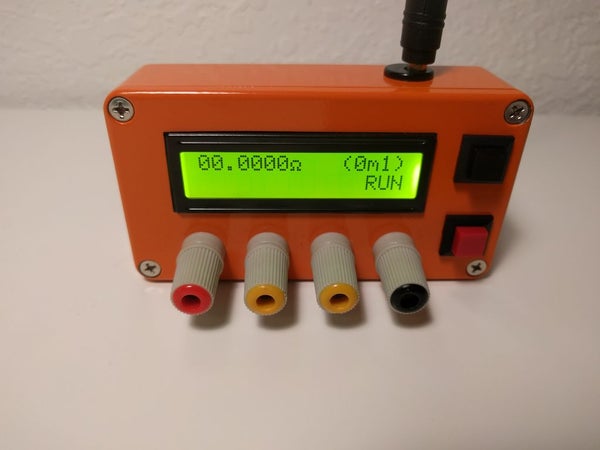
This is an accurate milliohm meter with a maximum resolution of 0.1mOhm. The design is very simple, the whole assembly can be built in a couple of hours once all the parts are gathered. It is based on a precision current sink and a high-resolution ADC controlled by an Arduino Nano V3. It uses a Kelvin connection with the resistor under test to exclude the resistance of test leads from the measurements.