In this project we see how to build an Arduino-based capacitive kitchen timer that allows users to interact via touch input. The finished device is driven by ATMega328PU (the same microcontroller on which Arduino UNO is based). You will need a few components, but the end result will be a unique gadget that will liven up your daily work in the kitchen!
This project uses three different PCBs. The first is a simple power board, which allows the finished product to run on a single 9V battery. This board contains a simple step-down circuit based on a 7805 voltage regulator. The second is the main logic board, the most complicated component in the build; contains the ATMega328PU and all necessary components including: a 10K pull-up resistor, a section that generates the 16 MHz clock signal and a smoothing capacitor near the IC power pins. We then find a MAX7219 LED matrix to show the output.
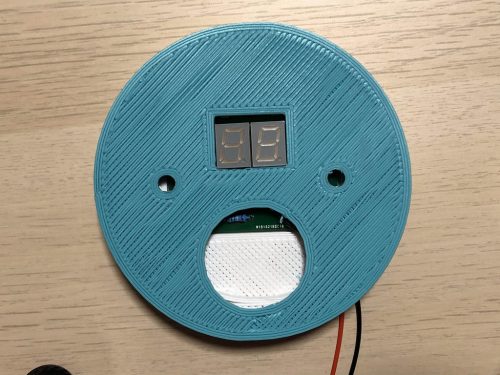
The third PCB is the capacitive touch ring. This PCB contains only thick traces which act as a touchpad to detect user input. The container is 3D printed and models are available to replicate at home.