Recently, all modern laptops, smartphones, and tablets come with built-in digital video cameras. There also web-cameras, video-nannies, actions cameras and much more. Many of them are capable of shooting 4K and Full HD videos, and thus might come at a price. Besides, ready-to-buy cameras might not have all the options you need. Thus, let’s create a quite cheap video-camera that fully meets your expectations.
The best option to use for this scope will be Arduino electronic platform. Its microcontrollers being not too expensive provide a huge amount of possibilities for DIY amateurs. Besides, it’s an open source project what means that its community is really large. Whatever question you might have, there are thousands of people ready to share their experience with you. Everything you need to do is to google for a particular info or check numerous how-to’s on YouTube.
Camera Modules with Arduino Support
Before getting to a camera construction, let’s have a look at a couple of video camera modules with Arduino support. You can easily order and use them for your project.
Arducam Camera Shield and OV2640 2 MP lens
This gadget features a 2MP sensor with an I2C interface for its configuration and an SPI interface for camera data. The great thing is that the camera has a lens holder that lets you replace the lens if necessary.

Waveshare OV9655
This camera module has a 1.3MP camera and can take both pics and record videos. Although the resolution is not too good according to modern standards, it may be enough for particular projects.

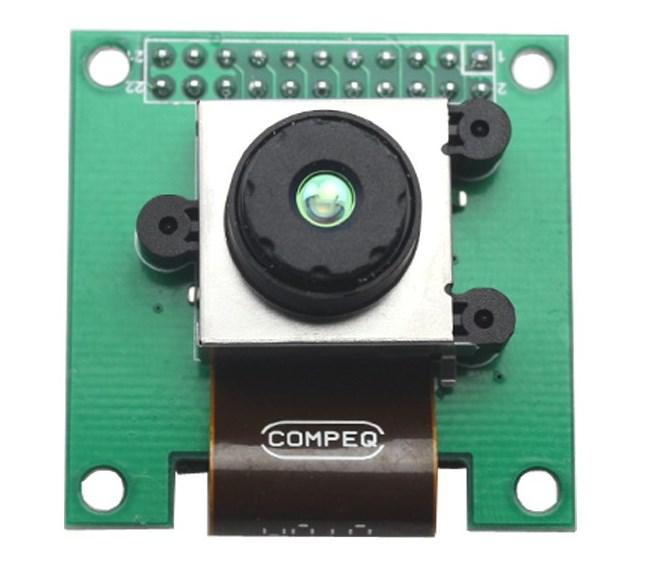
Arducam MT9D111
Arducam MT9D111 is quite rich in options. First of all, it features a 2MP (15fps) camera with a flex cable and auto-focus lens. Besides, the module supports Xenon- and LED-type flash and comes with an adapter board. Among other options there is a built-in photo editor for image correction, and a 10-bit analog-to-digital converter.
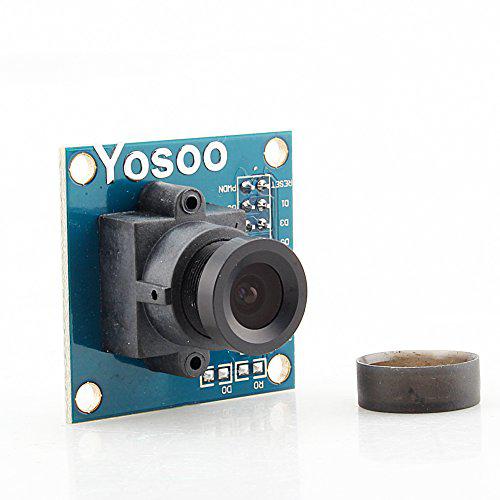
Yosoo
Yosoo is one more camera module that shoots videos with a 640×480 resolution. Unfortunately, it doesn’t have an onboard buffer what means that all the data from it should be streamed in real-time to a PC, phone or tablet to be saved.
Arducam MT9M001
This camera comes with a maximum resolution of 1280×1024 at 30 fps what seems to be a really good deal. It has extremely high sensitivity for low-light operation. Thus it can be used without additional flash devices.
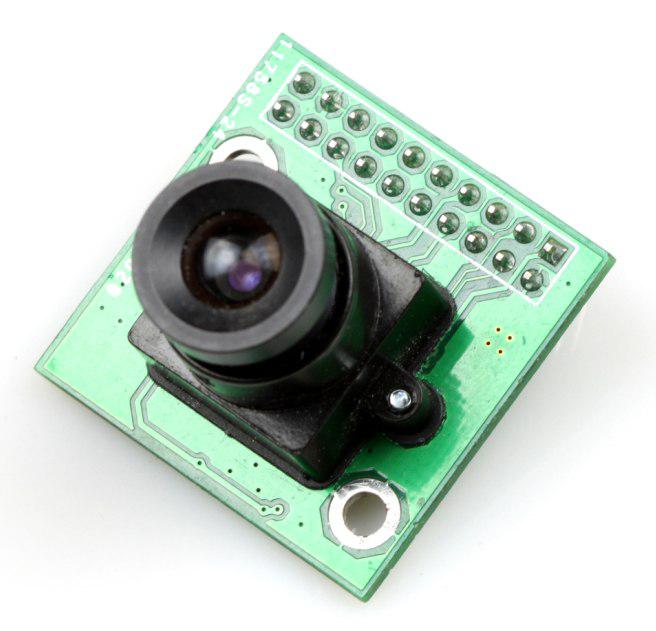
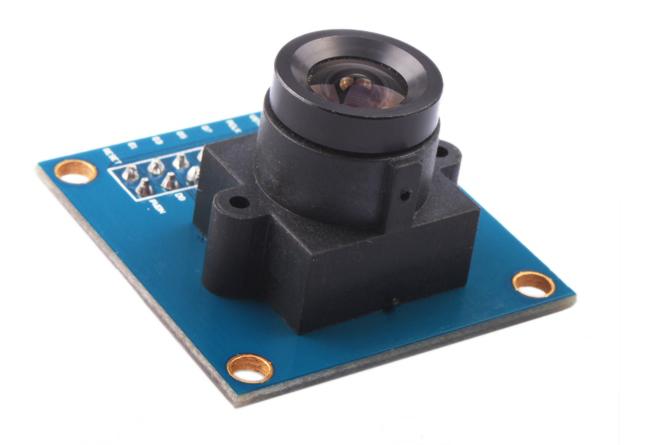
OV7670 by Atomic Market
Here is one more camera compatible with Arduino. Like the previous one, it features high sensitivity for low-light applications. OV7670 has 300 Kilo pixel lens specially designed for image acquisition and an option to automatically reduce noise.
SainSmart Surveillance
SainSmart Surveillance supports the following resolutions: 1080p at 30 fps, 720p at 60 fps and 640x480p video recording. The gadget comes with MIPI and CSI and is capable of handling big amount of pictures. The camera sensor itself has a native resolution of 5MP and has a fixed focus lens.

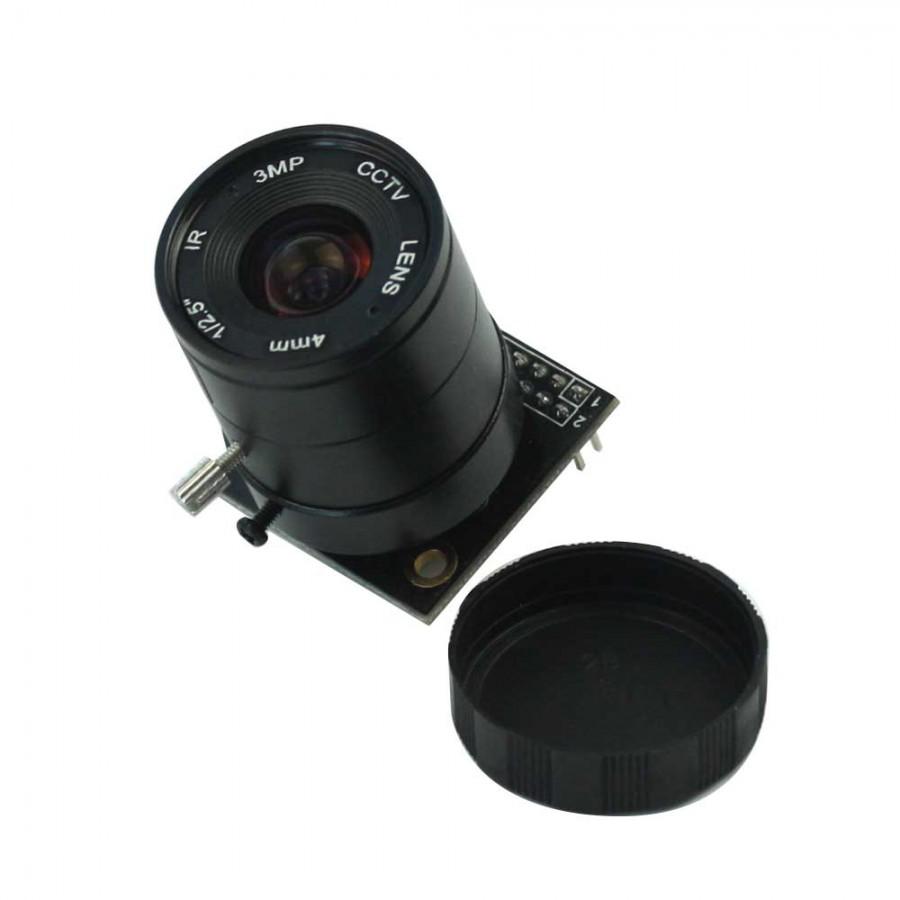
Arducam Mini Shield OV5642
Another camera from Arducan comes with a high definition 5MB (1080p, 720p) camera and replaceable lens. The module features I2C interface for the sensor configuration as well as SPI interface for camera commands and streaming of the data.

Arducam OV5642
This camera module is a bit more expensive than all the previous ones. It supports the 5MP resolution and works well at night. Arducam OV5642 comes with an easy to use hardware interface and open source code library. This gadget might be a good choice if you’d like to have a video-nanny or track the night life of your pets.
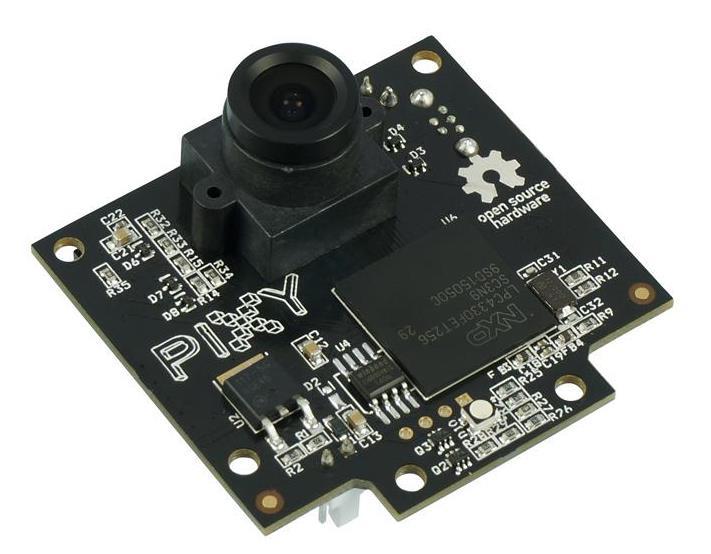
This choice is for more proficient users who’d like to spend some time playing with Pixy. The camera is a smart vision sensor that you can teach to detect only those objects that you need. However, the night vision is not that good and video resolution is not too high. The configuration utility that comes with the camera runs on Windows, MacOS, and Linux.
How to Create an Arduino Video Camera?
Now when you’ve made up your mind what module to buy, let’s pass to the guide.
What you need to make a camera:
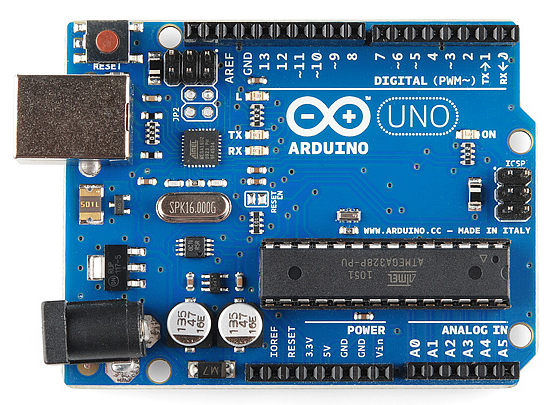
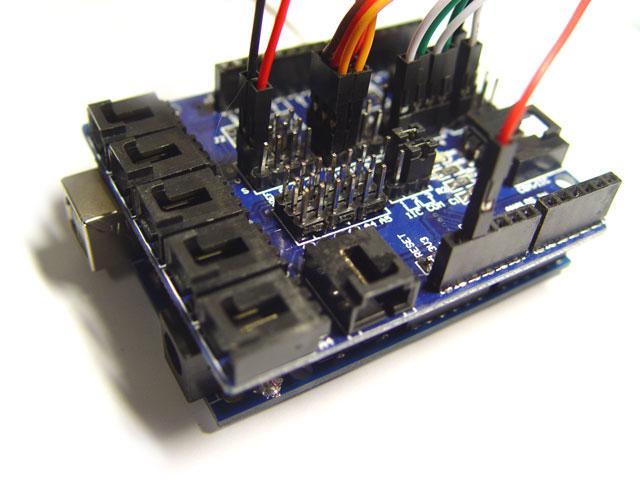
- Arduino Uno or Nano;
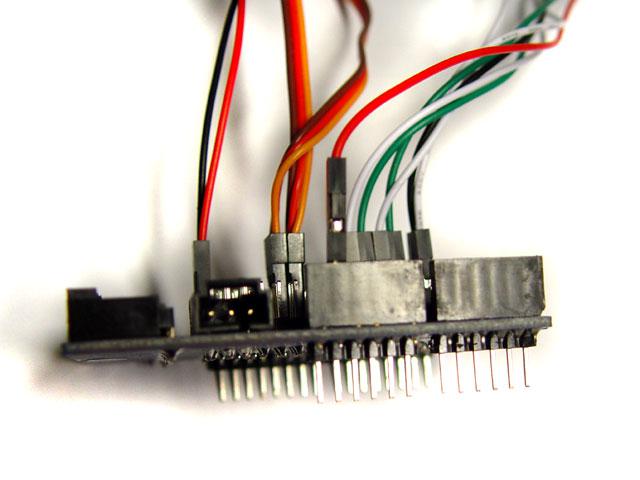
- MegaShield v4 to Arduino;
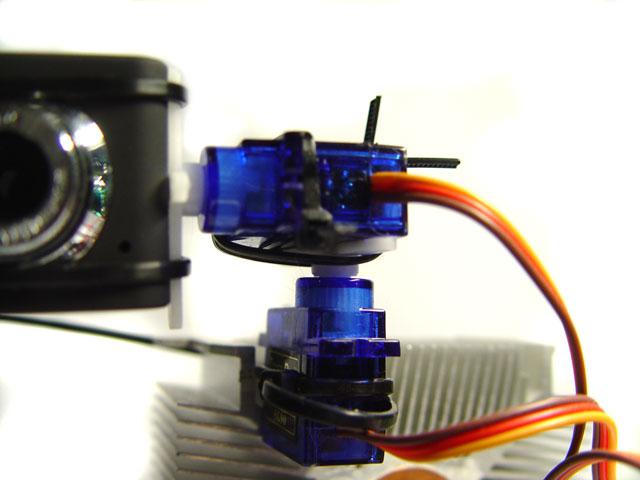
- camera;
- servomotor;
- wires and connectors;
- screen from an old mobile phone (optional);
- ultra-bright LED for backlighting (optional).
What you need to make it work:
- a web-browser;
- apache HTTP Server;
- script Handler PHP;
- software to save videos from the camera.
Let’s set following goals for the camera:
- see picture and video;
- have the ability to control the camera;
- manage the size and quality of the video or picture;
- provide an acceptable real-time;
- load control 220V (in future).
While trying to make it all work, you might face the following issues:
- if several users connect to the video, the processor gets overloaded;
- a video has a 5-10 second delay, so the real-time doesn’t work. Thus it makes it difficult to determine the adequacy and overall performance of management;
- using a broadcast service, although it greatly helps the server in the case of many users, does not provide the necessary reliability, and, again, brings delays;
- a special server for streaming video requires certain skills, which you might not have yet.
Several tricks you may have to make:
- to exclude the hard drive from the process of image output, install RamDisk, to which twice a second there will go an image from the web-cam;
- use PHP and gdlib to provide a picture;
- the picture update is initiated by the client through JavaScript and ajax and is made without updating the page itself.
How it all works:
- the webcam is connected via USB to the PC;
- Arduino is also connected to the computer via USB;
- all external devices, due to exceptionally low current consumption, are connected directly to Arduino, and work 24/7 for about two months;
- clean web interface with only HTML, CSS, and JavaScript (+ajax);
- online Arduino control is implemented using a proxy program, as follows: PHP script creates a UDP socket and sends the datagram to a specific port, then the proxy checks this port and accepts incoming messages and sends them to the COM port of Arduino. For example, you can choose UDP. It does not require any confirmations and delivery-sending checks from either the client or the server side.
How to process video files from Arduino:
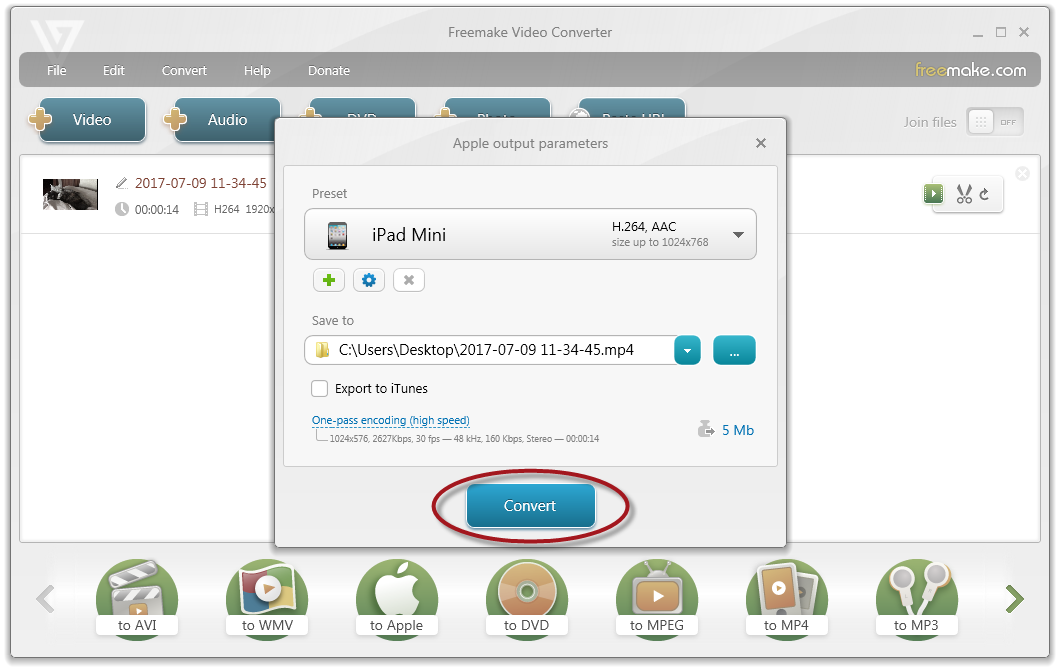
You’ll need Freemake Video Converter for Windows for this task. To edit video with Freemake, you should:
- download and install the software from the official Freemake site. Please don’t use file archives or any 3d party sites;
- run the tool and add your video by clicking the “+Video” button or using drag-n-drop;
- in case you need to cut your video, click on the green scissors to open the Freemake editor;
- mark the beginning and the end of a piece that you would like to cut off;
- click the blue scissors button. Repeat steps 4 and 5 if you need to cut more pieces;
- click the “OK” button to save the changes;
- choose one of the video formats on the format panel. In case you plan to watch videos on portable gadgets or upload it to online hostings, it’s better go for an MP4 option;
- choose a ready conversion profile or create a custom one with personalized bitrate, fps, frame rate, etc;
- click “Convert” to start the conversion process and apply all the changes you’ve made.
Depending on your PC capacity, the video will soon appear in a selected folder (“My videos” by default).
The system should withstood all the invasions and raids, and more than 120 online users.
There might occur cases of control failure that happen because of possible shortcomings in the proxy program, in particular, due to insufficient error handling, while the software part from Apache and Arduino, in such cases, work well.
One more issue you may face is that Arduino receives the first byte separately from everything that is sent to its virtual COM, and then everything that remains. The solution? Sleep 2 after reading each byte. That’s all!
The second problem is a serious load on the server that arose because the update of the picture is done on a timer, without waiting for the actual download of the picture. It means that a lot of “extra” requests are sent.
The third moment is Firefox. It appears to be the most correct and whimsical browser that will make you learn how to write a valid code. For example, the OnClick event on the Option element should not work. It works, everywhere except Firefox.
That’s how you can create a video camera based on Arduino. If you have already tried it, please share your successful stories in comments.

Complete guide? A list of cameras, a list of things the reader has to figure out on their own and a single app to deal with it in the end. Sorry but this is prettymuch just clickbait.
Why don’t you explore the NVIDIA Jetson Xavier credit card form factor board. It should have 8k sensors inputs. The older version had 6 sensor input for drone based Artificial intelligence, as it had, and the new one should be, the most powerful ARM could with a very powerful GP gpu. Now, an audrino system based on that chip (and it could probably easily emulate audrino binaries full speed.
But, without good pictures from ultra hd or 4k, audrino camera is a curiosity, unless you want to make a quality fullhd/2k pro video camera out of it. 4kp50/60 hdr wide color gamut at 10-14 bits, are also good things that help good images in a variety of conditions. Top end Sony small sensors fall in this range, used on LG phones and some action cams. I know it is hard to get them, but as a one off into the hobbyist market, somebody might be willing to supply as a promotion.
Have a look at this footage from an old 2015 sony sensor on the yi 4k+.
https://vimeo.com/229501118
That is what can be done if the camera is setup good enough. This is not taking full advantage of the sensor as far as I know. I think that the sensor might have a her video mode, but usually you see native DR, which is still nice on the upper end Sony. HDR can produce issues when you push the stop range. So, a hdr mode on this camera might produce good results at 12-13 stops, maybe acceptable at 16 stops. But on high end cameras they tend not to push stood too much, because “acceptable” to us is not good enough for them.
Has anybody in open electronics ever considered doing an ambarella open development platform, with an ambarella chip as the heart of one of the open hardware platforms. Their chips really are one of the best low end, and have their own arms, and dead cheap and low energy, upto rather powerful. The chip in the Yi 4k+ is not their best, but encodes 4kp60 video at around 120mb/s, but can do much more, and I think it has 10 bit HDR mode (but hdr is best 12 bit plus. Consumer HDR goes to 12 bit, but for professional post reductions in results you usually want two more bits, and high end cameras are using two more again). The reason for more bits practically is to save the image rather than having problems baked in (as well as selecting better image levels in post and processing, whichnI don’t think people here would be bothered with). Basically if part of a scene gets to bright or burner out, or things you want to see in shadows go black, you have the extra 2+ bits (consumer HDR is baked into consumer playback media at 10bit possible) to push it to a more desirable level, or other post processing truck to rescue it.
This is exactly the same tutorial for which I was searching. Great way of presentation.