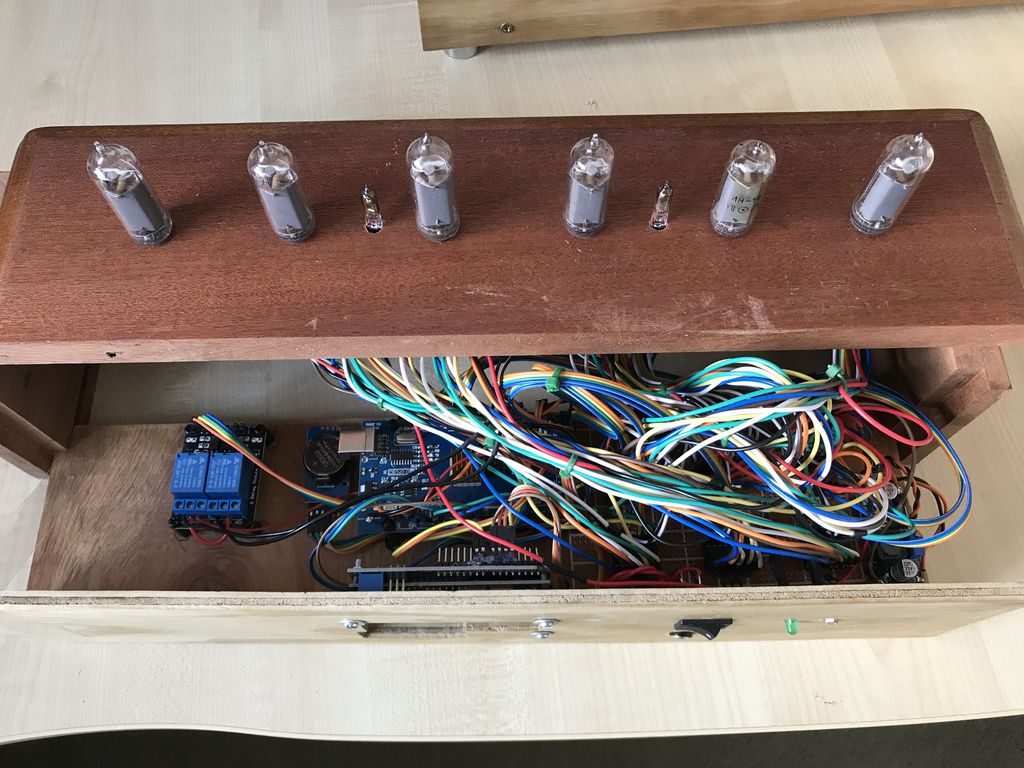
“The clock actually consists of two clocks, the first being a 6 x IN-18 tube clock which is mounted on the clock’s top and displays both time and date. The second clock, this time based on 6 x IN-12A and 2 x IN-15A nixie tubes displays at the front of the clock and can display, time, date, pressure (with units and trend), temperature (both Centigrade and Fahrenheit) and, humidity (with units and trend). The time and date are separated with two single neon lamp-based separators, while only one of these lamps is displayed, to represent a decimal point, when the pressure, humidity or temperature is displayed.”
Maker Christine Thompson created an amazing and stylish Nixie Clock with three different types of tubes. He used a pair of Arduino Mega boards to control this retro-inspired clock, along with an array of wiring, perf board, and other components, stuffed inside a very nice wooden enclosure.
The clock is also capable to sound a chime at 15, 30, 45 and 60 minutes through a standard MP3 files using a simple MP3 player controlled by the Arduino mega.
Additionally, thanks to a LRD resistor located at the back of the clock, all tubes are switched off automatically when the light level in the room dims to a predefined level.
“The user can adjust the time, date, Chimes, and Chimes Volume using one of two 16×2 LCD displays, located at the back of the clock. The BME280 temperature, humidity, and pressure sensor is mounted on the back of the clock so as to not be affected by the clock’s internal temperature.”


