
Yes, it’s another temperature controlled etching bath for producing PCBs at home..but this one has something different from any other, it has a magnetic stirrer.
The core components are a heat-resistant glass bowl and a heating foil. The foil is rated to be operated at 12V. But that is not enough heating power to heat up some 330 mL of etching solution to the desired 45°C in reasonable time. So he took a sizable 24V transformer which he had lying around to power the foil.
The temperature of the liquid vessel is measured with an ordinary rectifier diode (1n4148). The thermometer circuit is super simple: Just a voltage divider consisting of an 1k resistor and the diode. The voltage drop on the diode is then measured with the ADC of a microcontroller (ATTiny45).
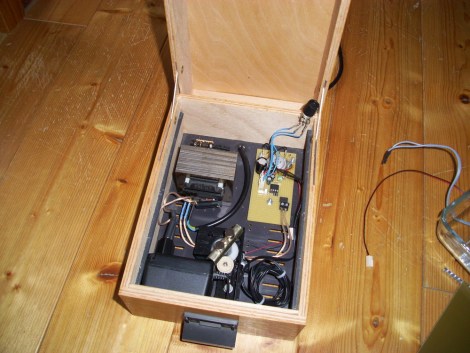
About the magnetic stirrer, the maker recycled the motor and gear system which used to move the tray in an old CDRom drive. He attached a metal bar to the drive gear and put some neodymium magnets on top. Everything is installed in a record card box. Right above this magnetic rotor is installed a “false floor” on top of which he put the glass vessel with the heating foil.
The magnetic “fish” which stirs the liquid is made of a small stack of neodymium magnets in the center and the “bodies” of two small electrolytic capacitors on the sides to make it longer.
The rotor speed is set with a potentiometer which is also read out with the microcontroller’s ADC.
If this project was inspiring for you, it’s a good starting point to build your own PCB etching machine!
